Journal · 2026
January – April 2026
Crossing More Things Off the List.
January - 2026
We started on the roof in March 2025 with installing the underlayment. We used the Polystick XFR WUI line, uniquely designed for fire resistance, and added an extra layer under the future solar panels.
The Mission clay tiles were supposed to soon follow, but got held up by many heavy rainy days that spring and then months of manufacturer delays. MCA Tiles and DMR Roofing were great about working through order hiccups and getting us through delivery of our beautiful tiles that were worth the wait. Tile installation work finally started at the end of December despite wet weather, and the tiles were finished in January 2026. The small finishing jobs, including the rain gutters that we had made out of stainless steel – rusted and sealed to match other finishes – took until April.
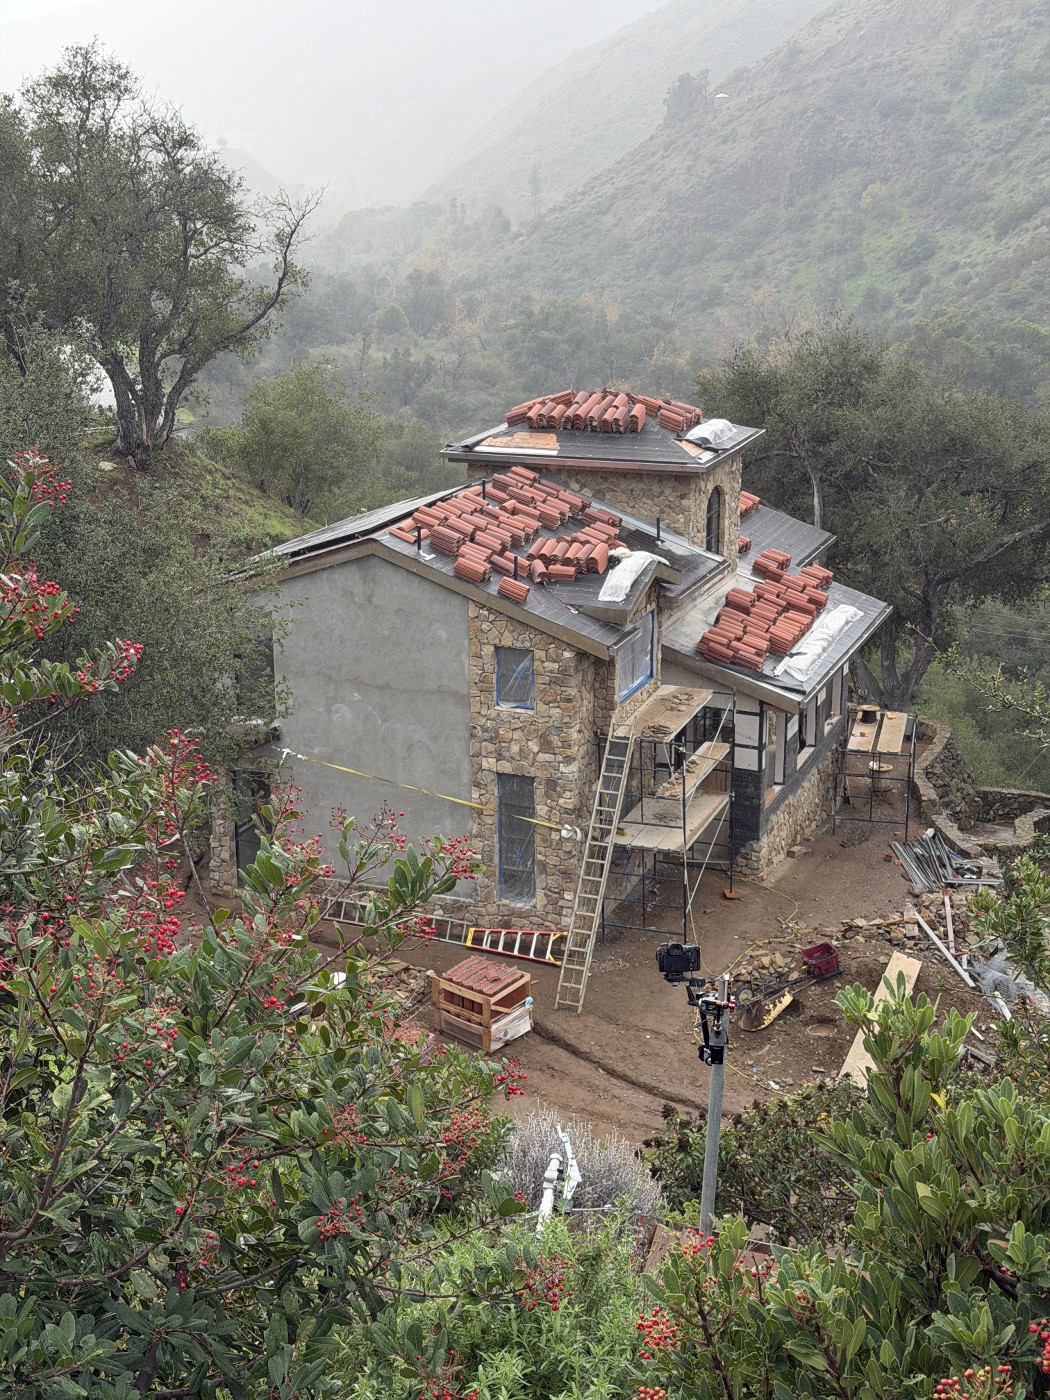
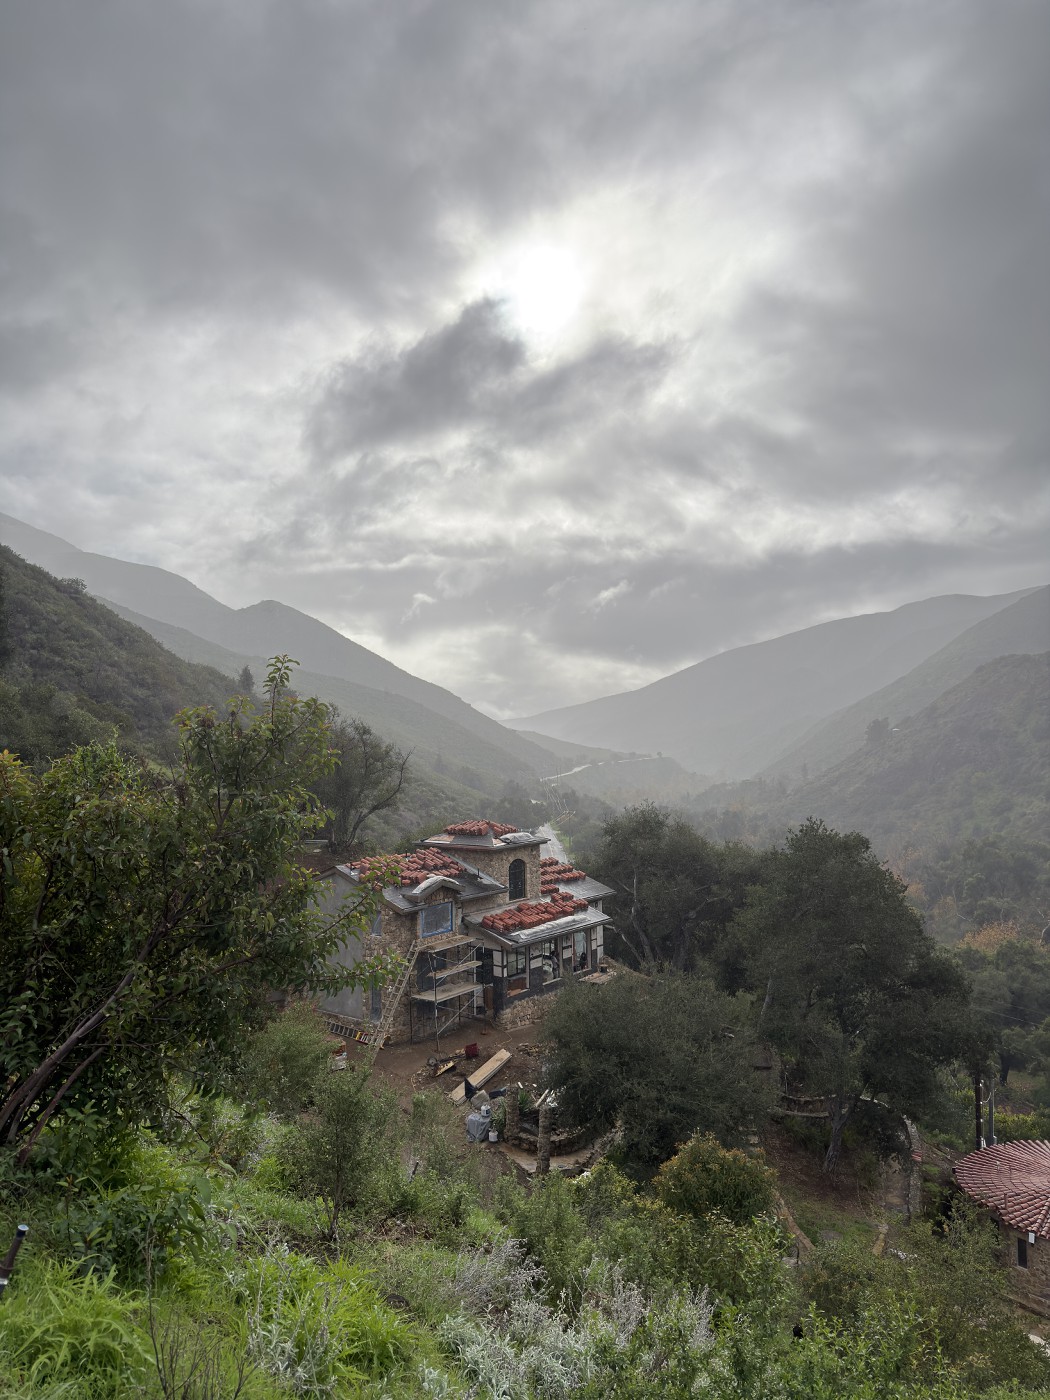
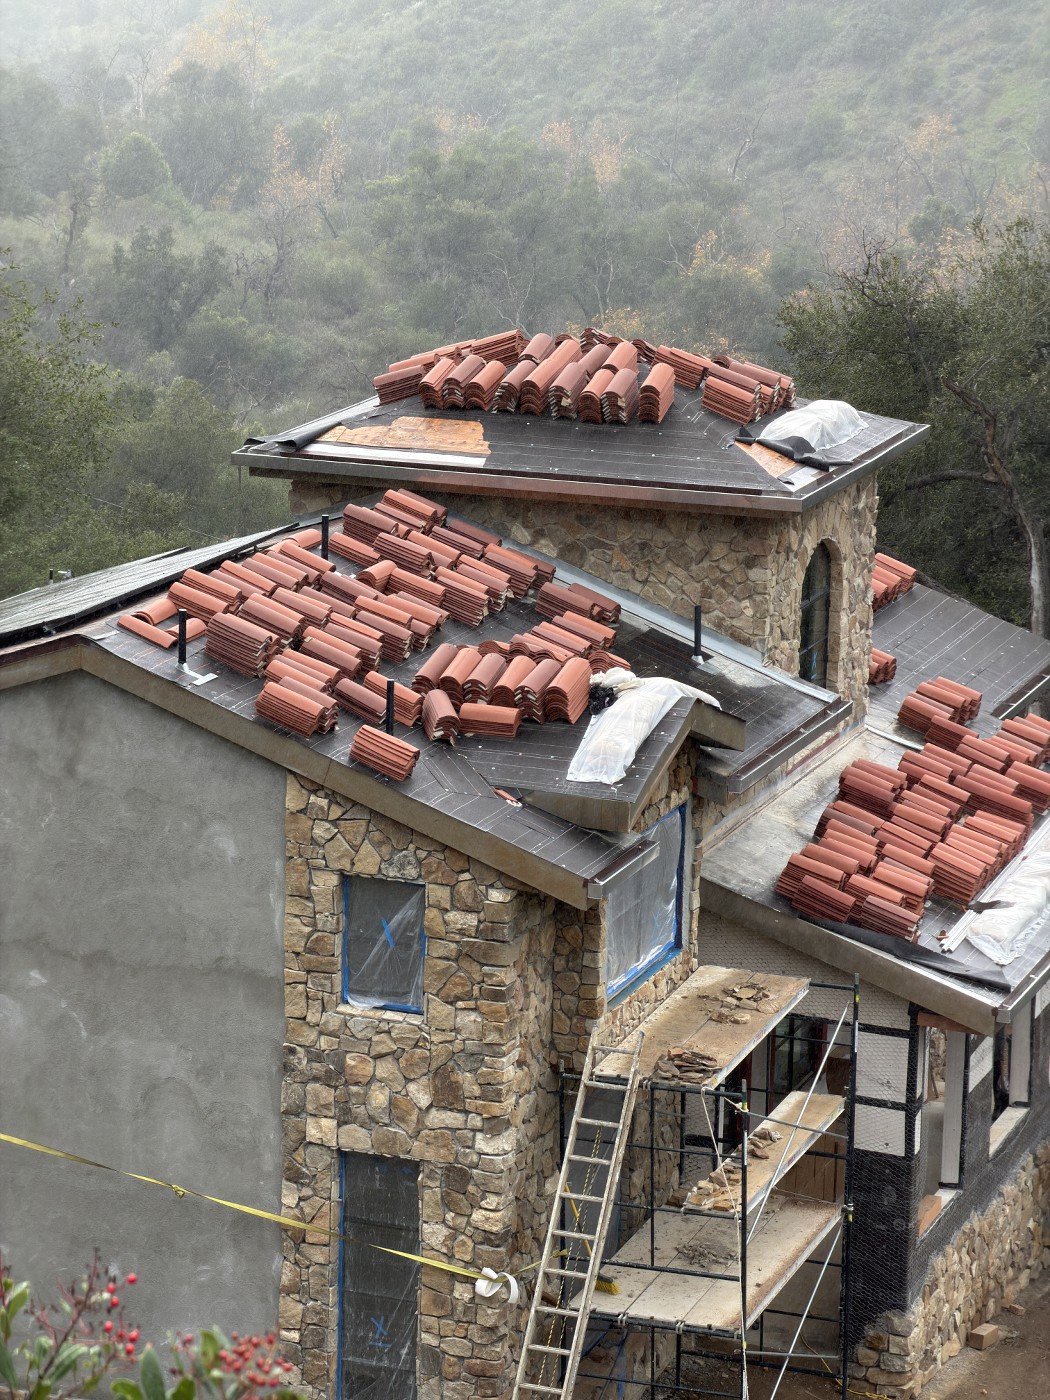
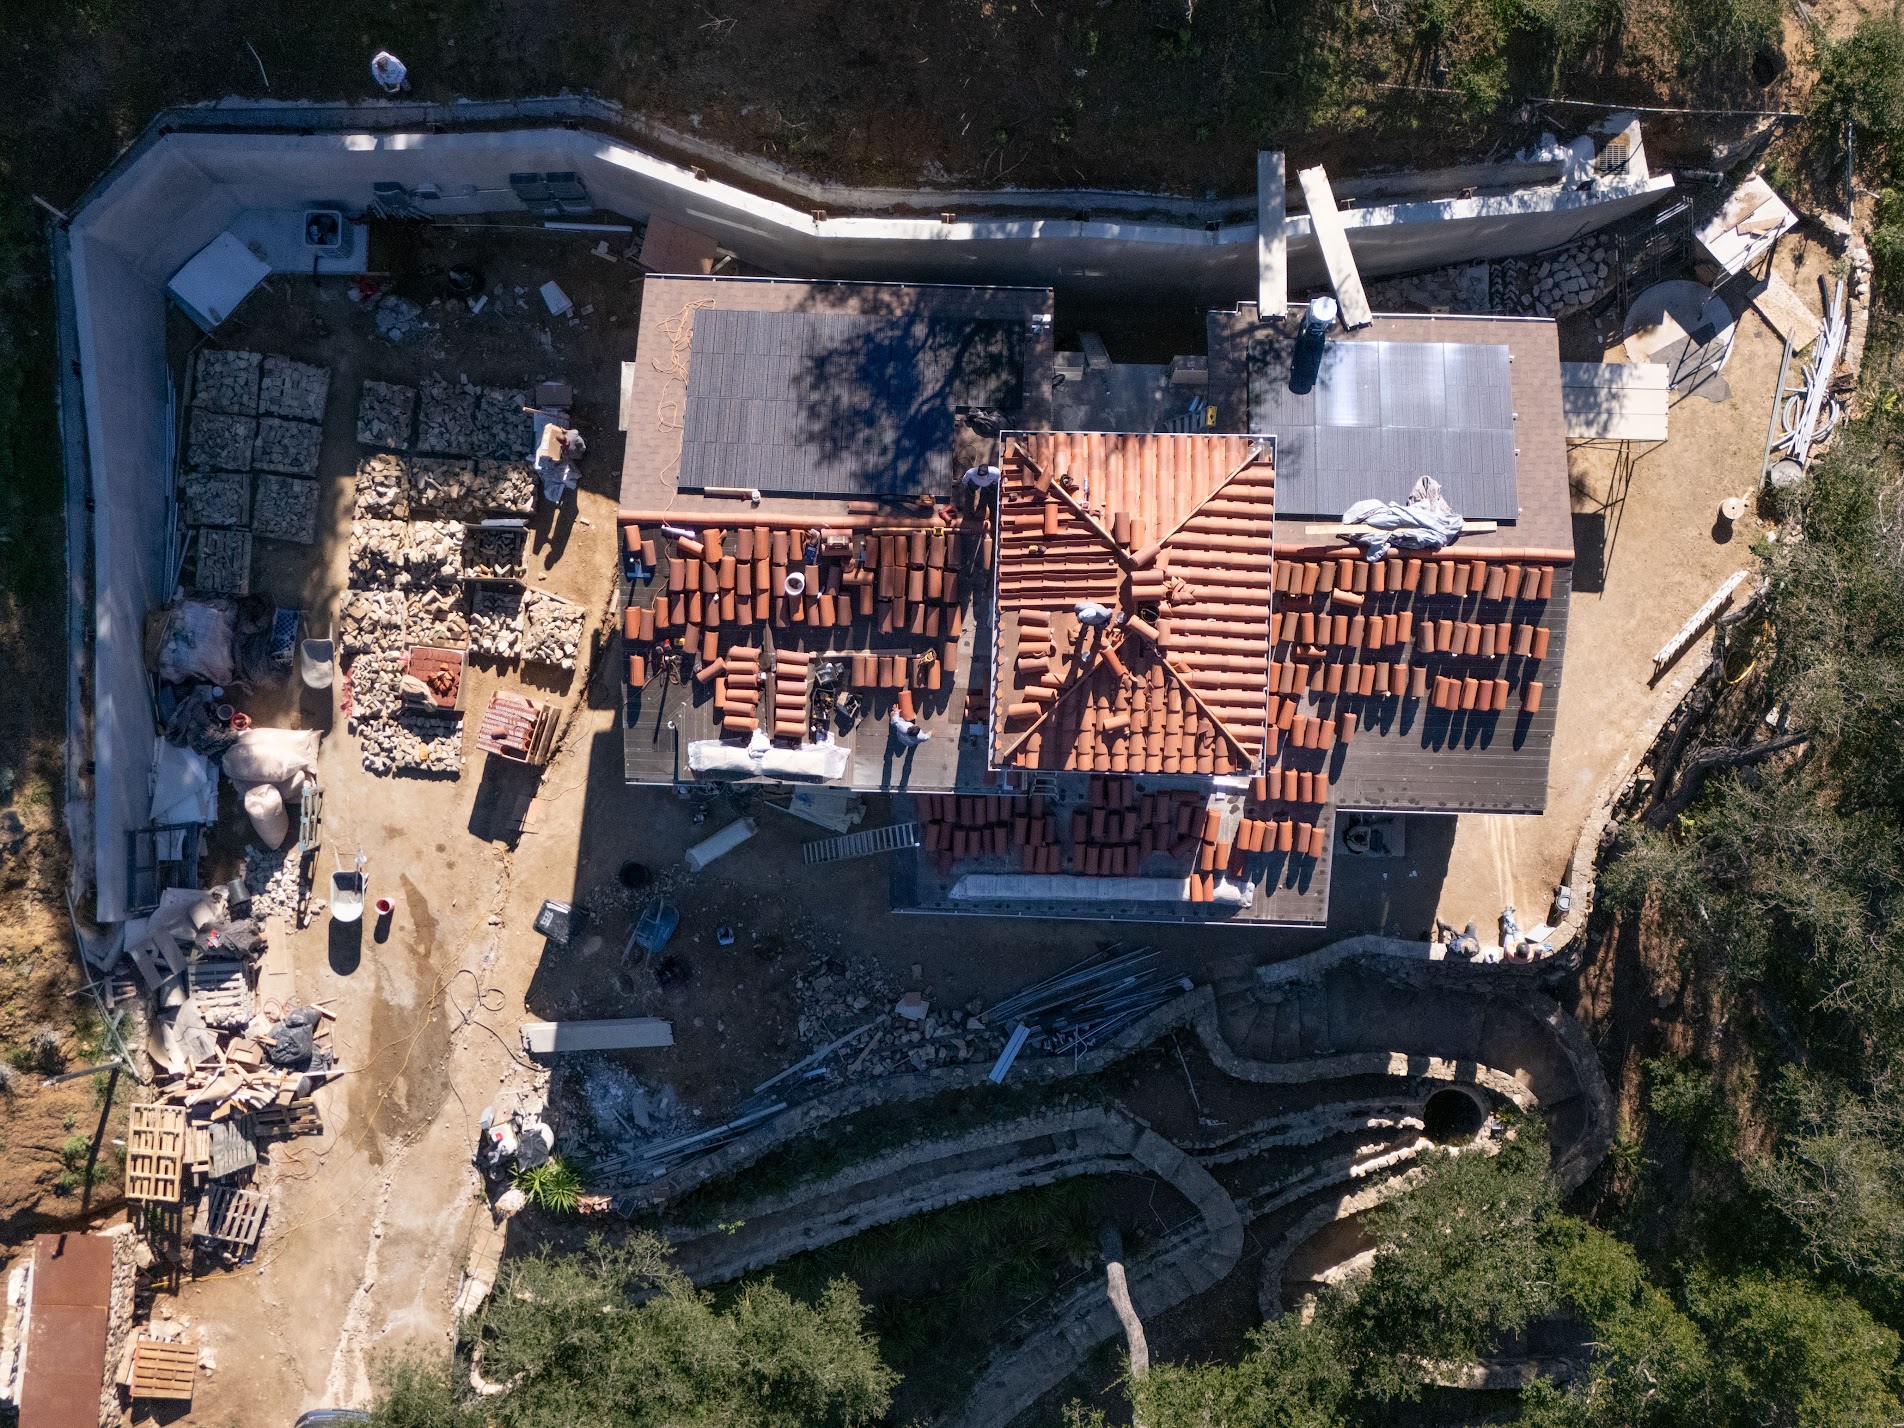
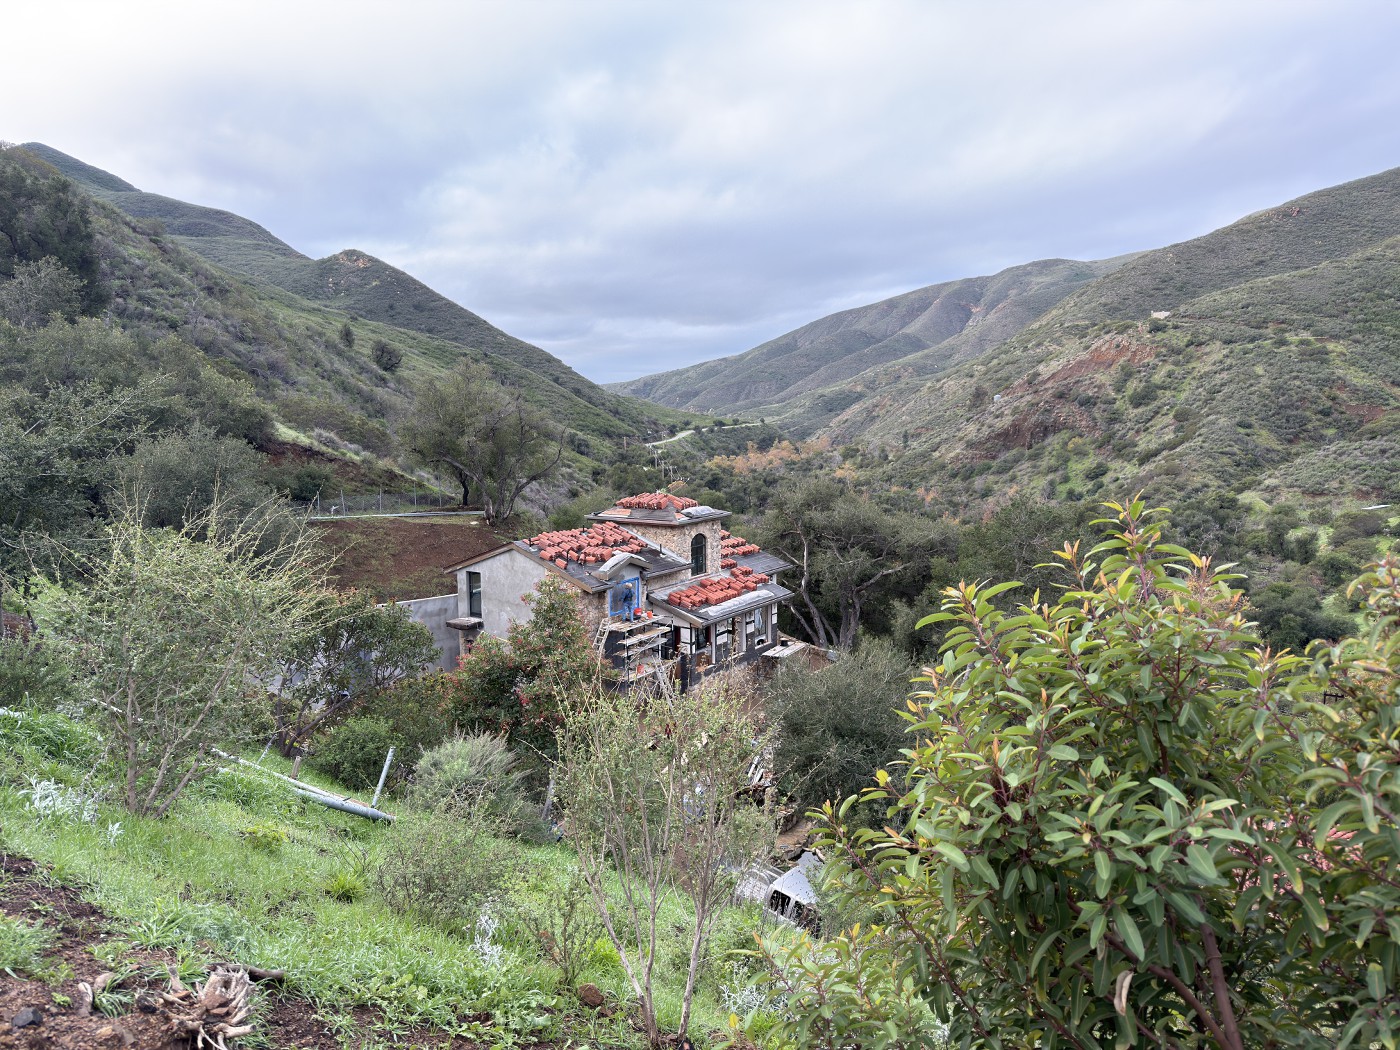
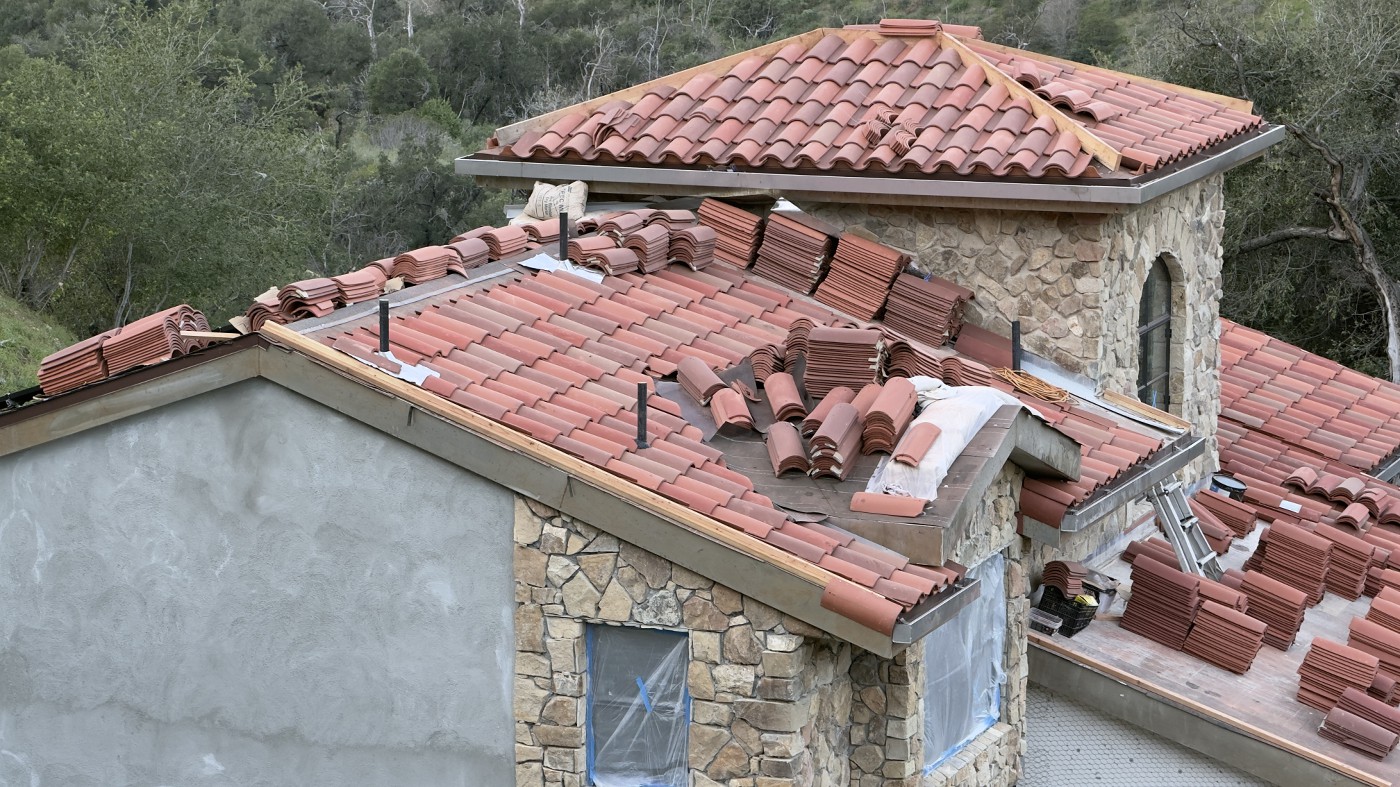
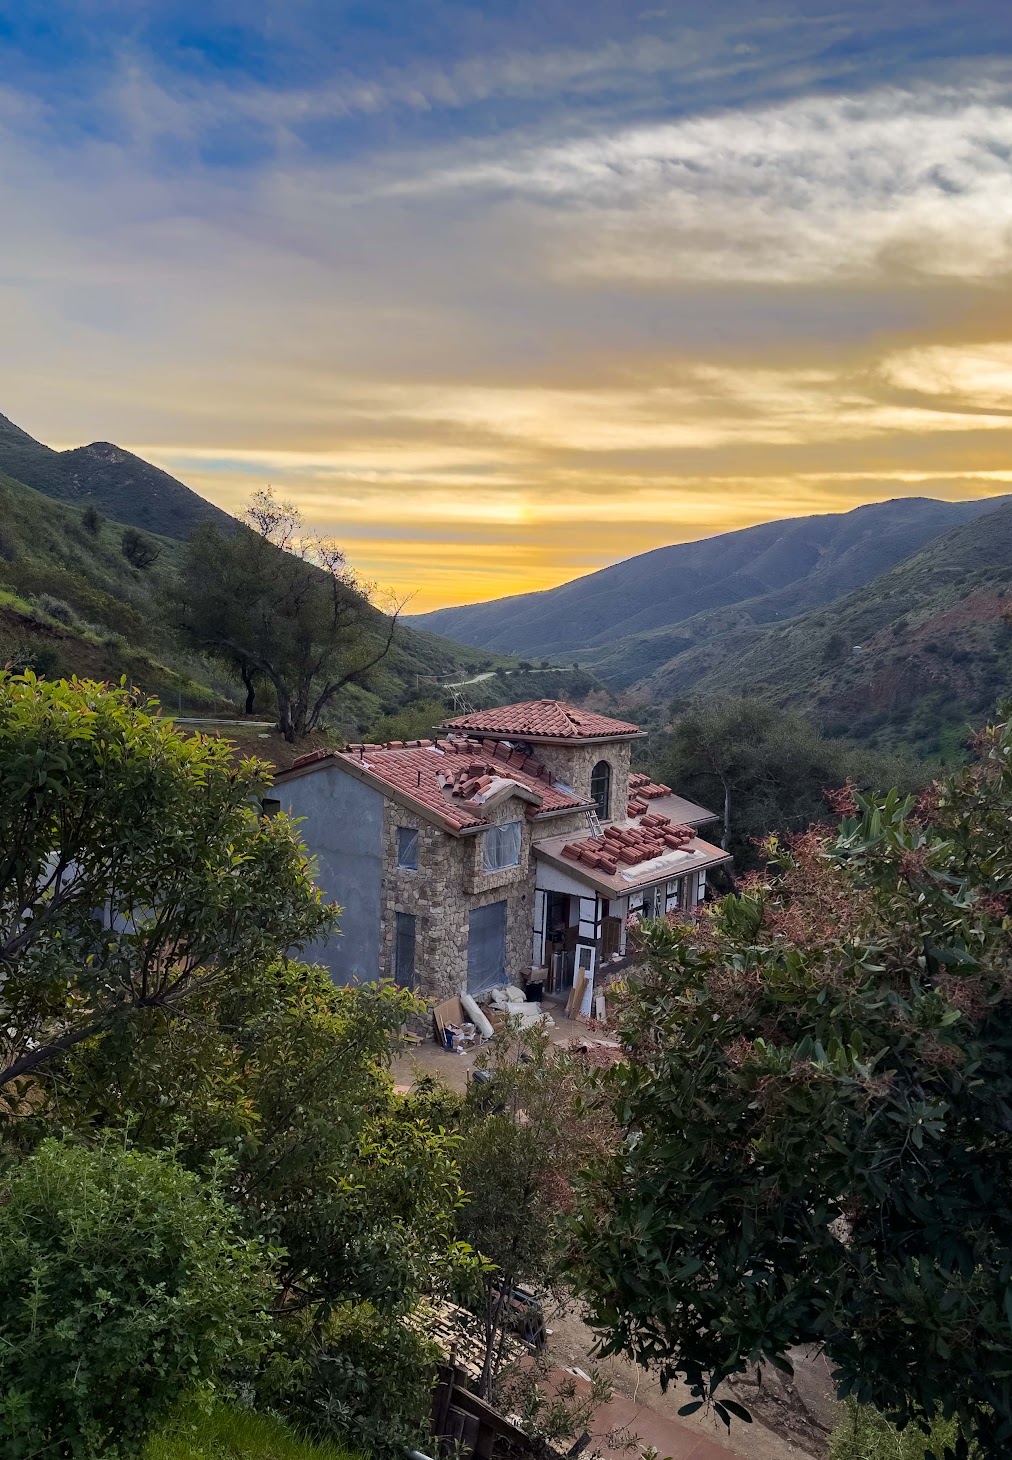
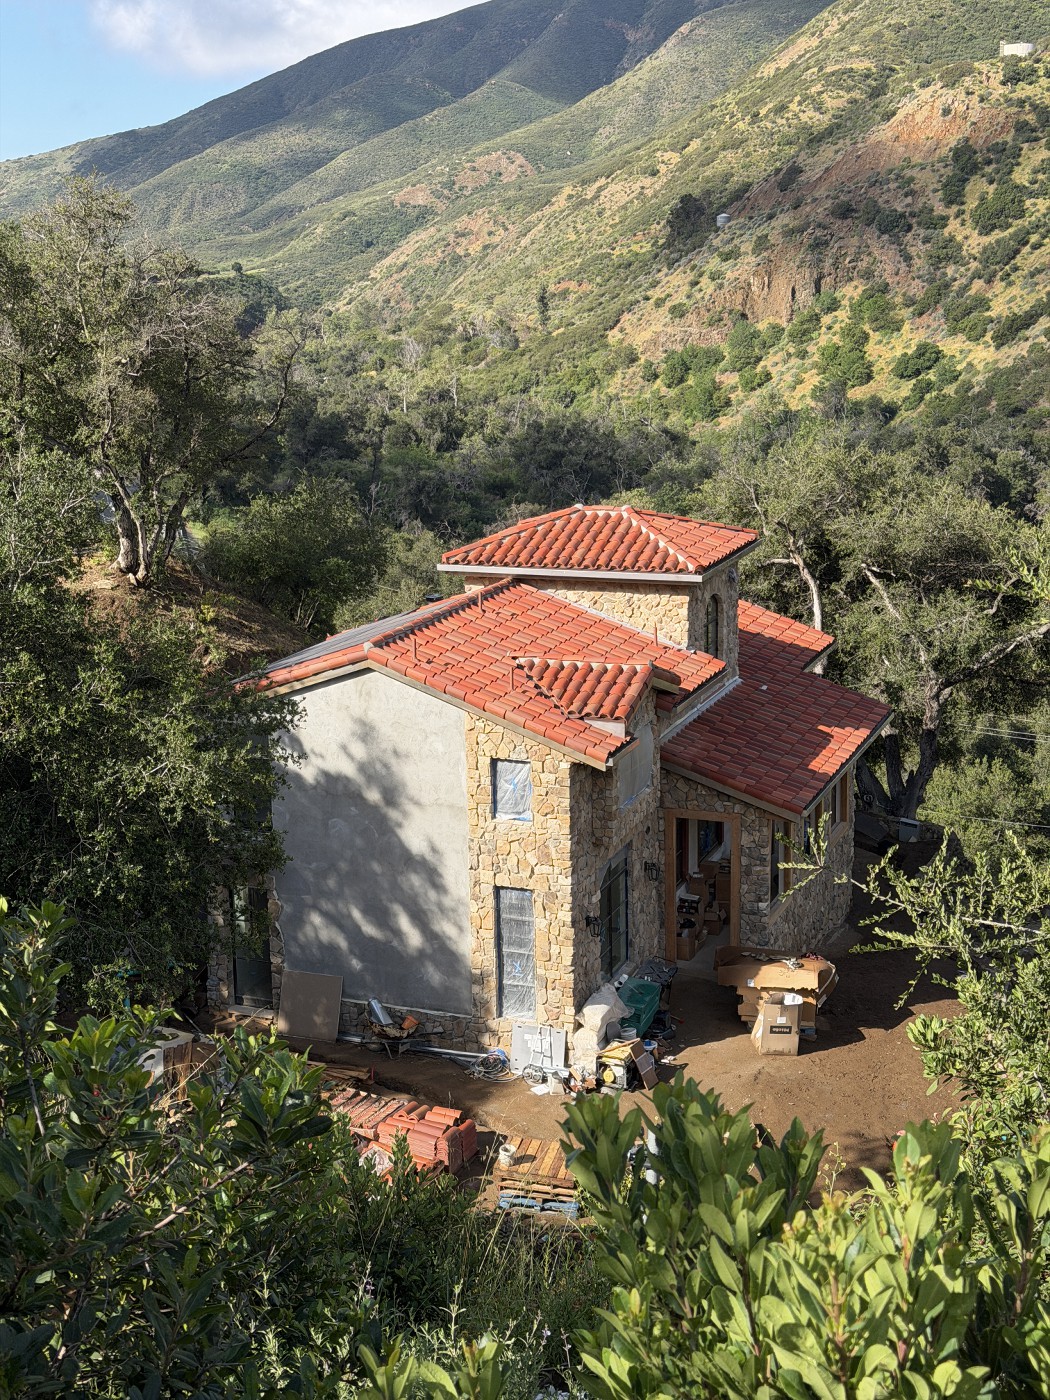
We were impressed by how the roofers moved across the roof as if it were flat ground. One explained he wears special roofing shoes that cost around $500, last him 8 to 12 months, and use maximum surface contact and specific grip design to prevent slips on wet and oily surfaces.
Daniel Martinez, who owns the roofing company, is the nicest guy. He was always humble, highly accountable, and open to our ideas – a rare and welcome combination in a stressful rebuilding process.
Summary: Rain and a months-long wait for clay tiles delayed our roof completion, but the tile installation finished in January, and the gutters in April.
Wood Floors
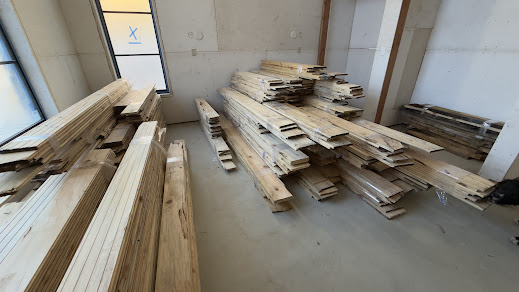
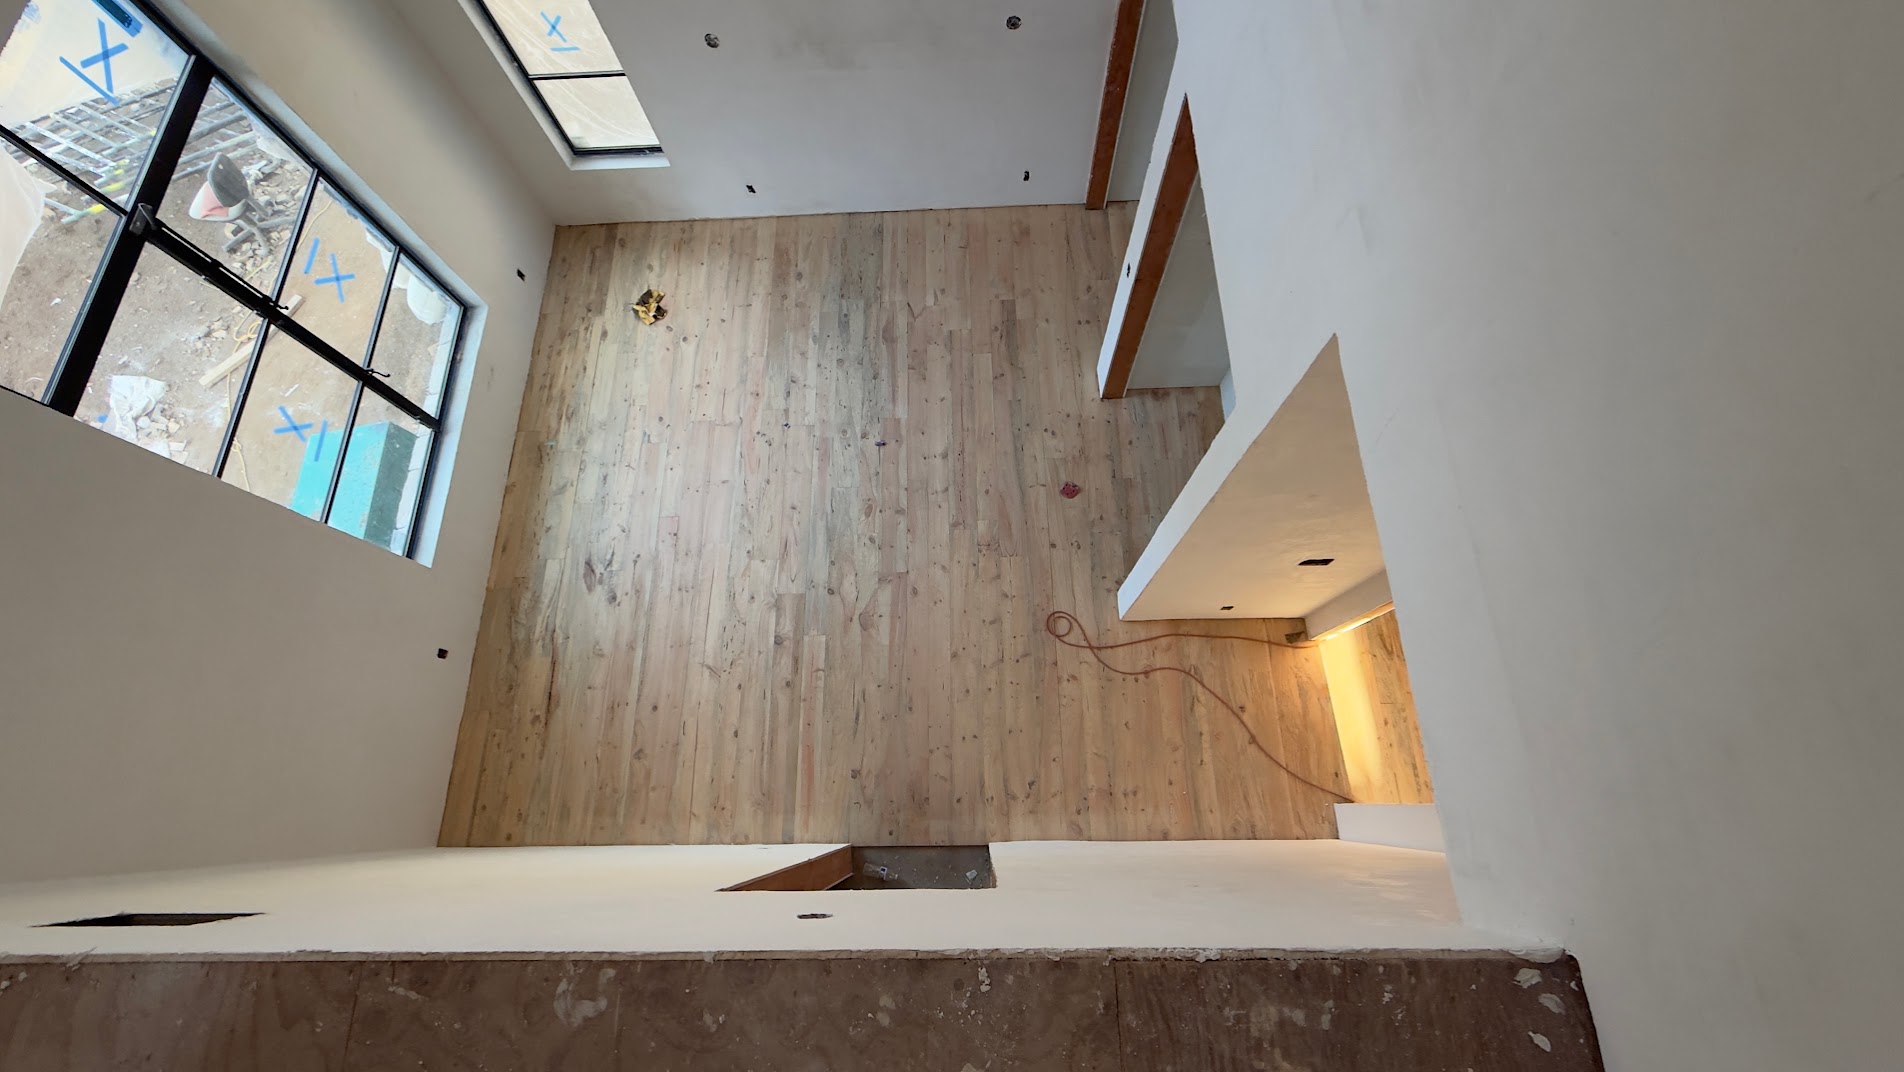
The floors in our new home are made from our fire-destroyed trees that that got cut down in 2019 and that we milled into planks onsite with a portable mill in 2021. A local mill made planks into tongue-and-groove boards.
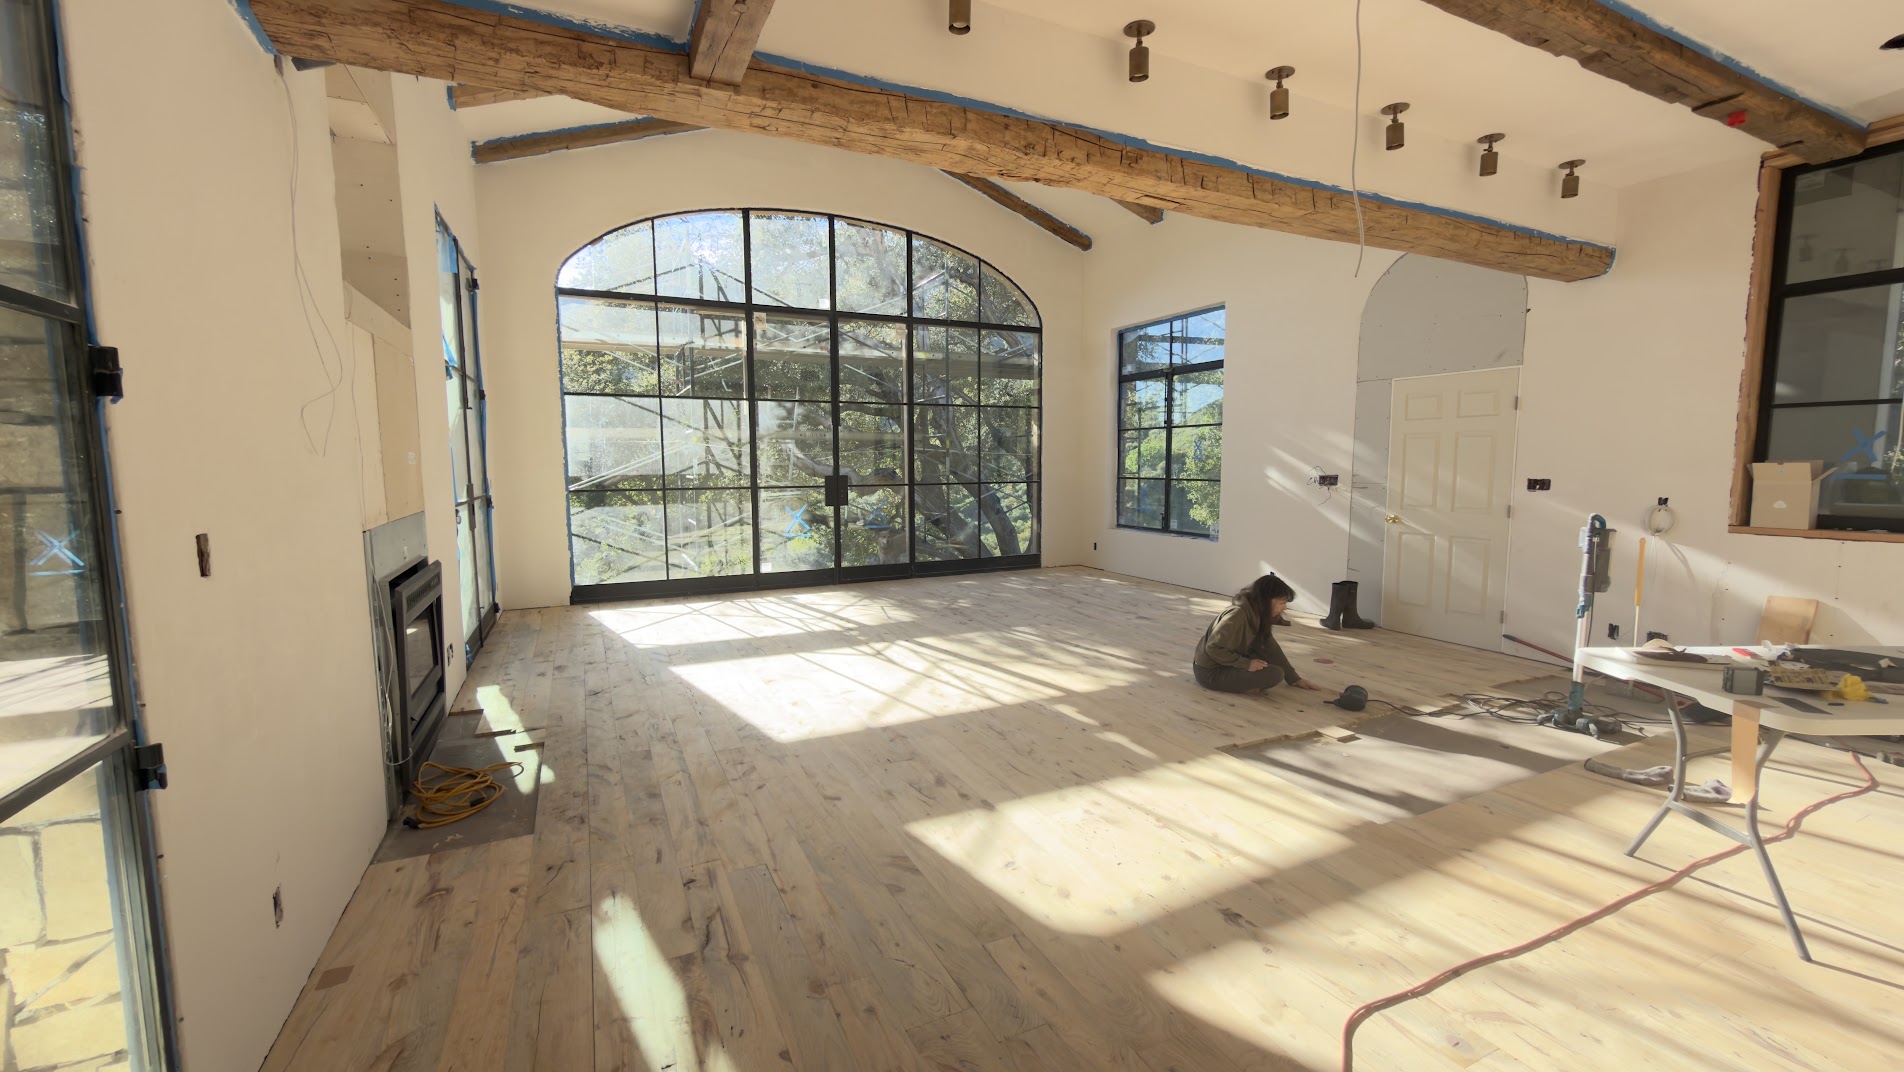
Once the flooring was delivered, we first sorted it by size, color and quality, and then selected boards to lay into a pattern in each room before fixing any of them in place. Choosing from so many patterns and colors took time, but helped transform the tragic loss of the trees into an artistic, joyous experience.
Diane spent days sorting and selecting the boards piece by piece, sometimes with help and sometimes on her own.
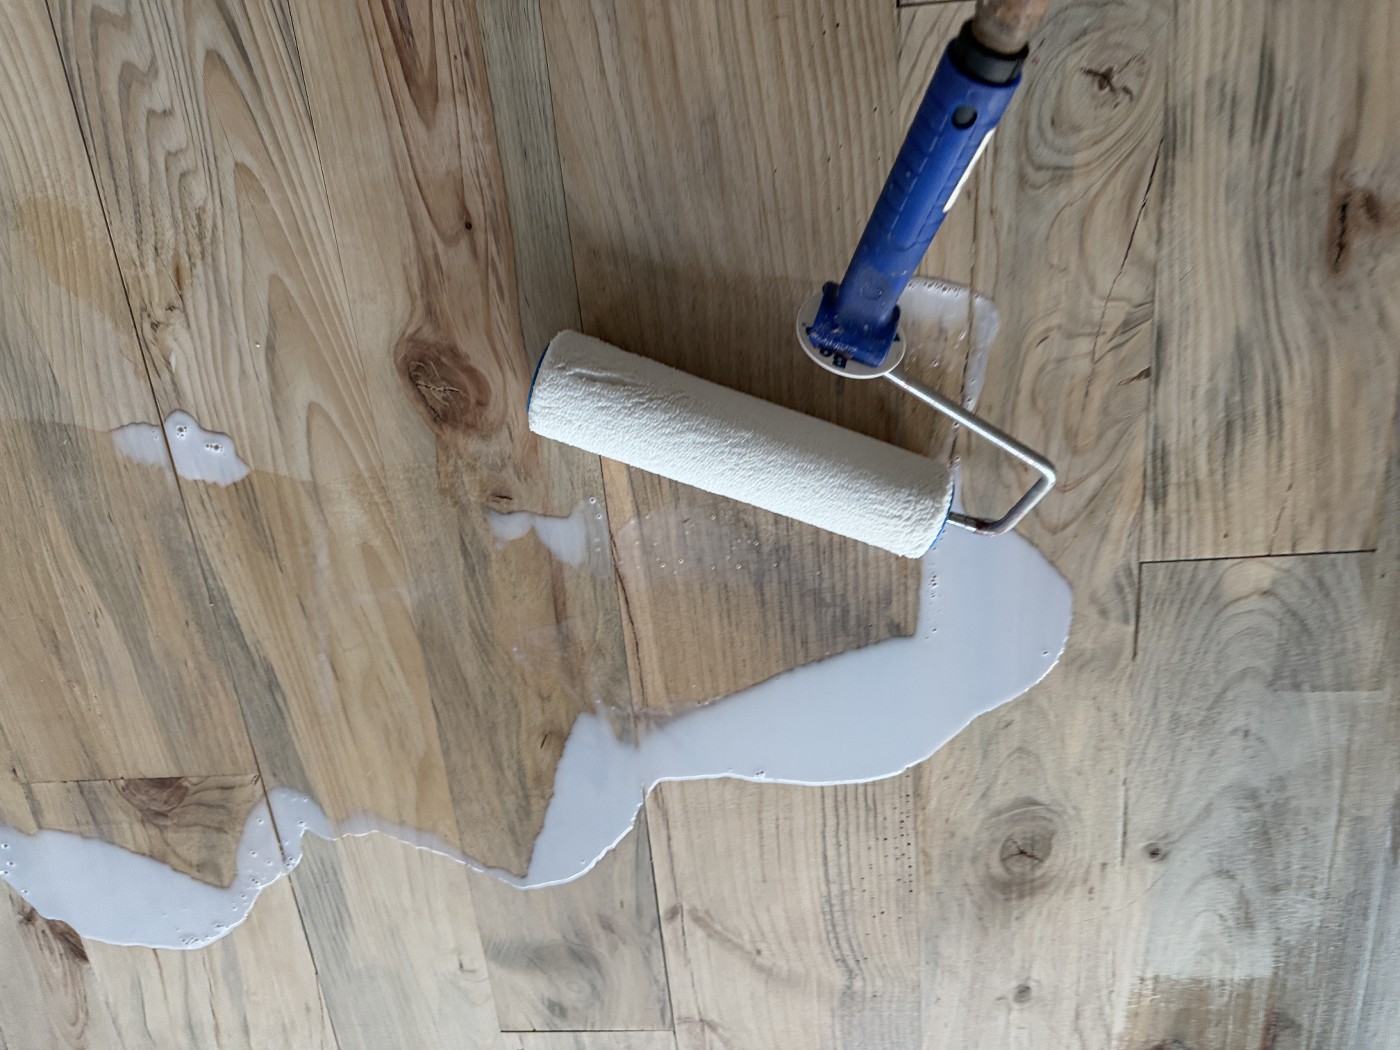
Although the slab was new and thick, as an extra precaution, we added a non-toxic moisture barrier made by Bona.
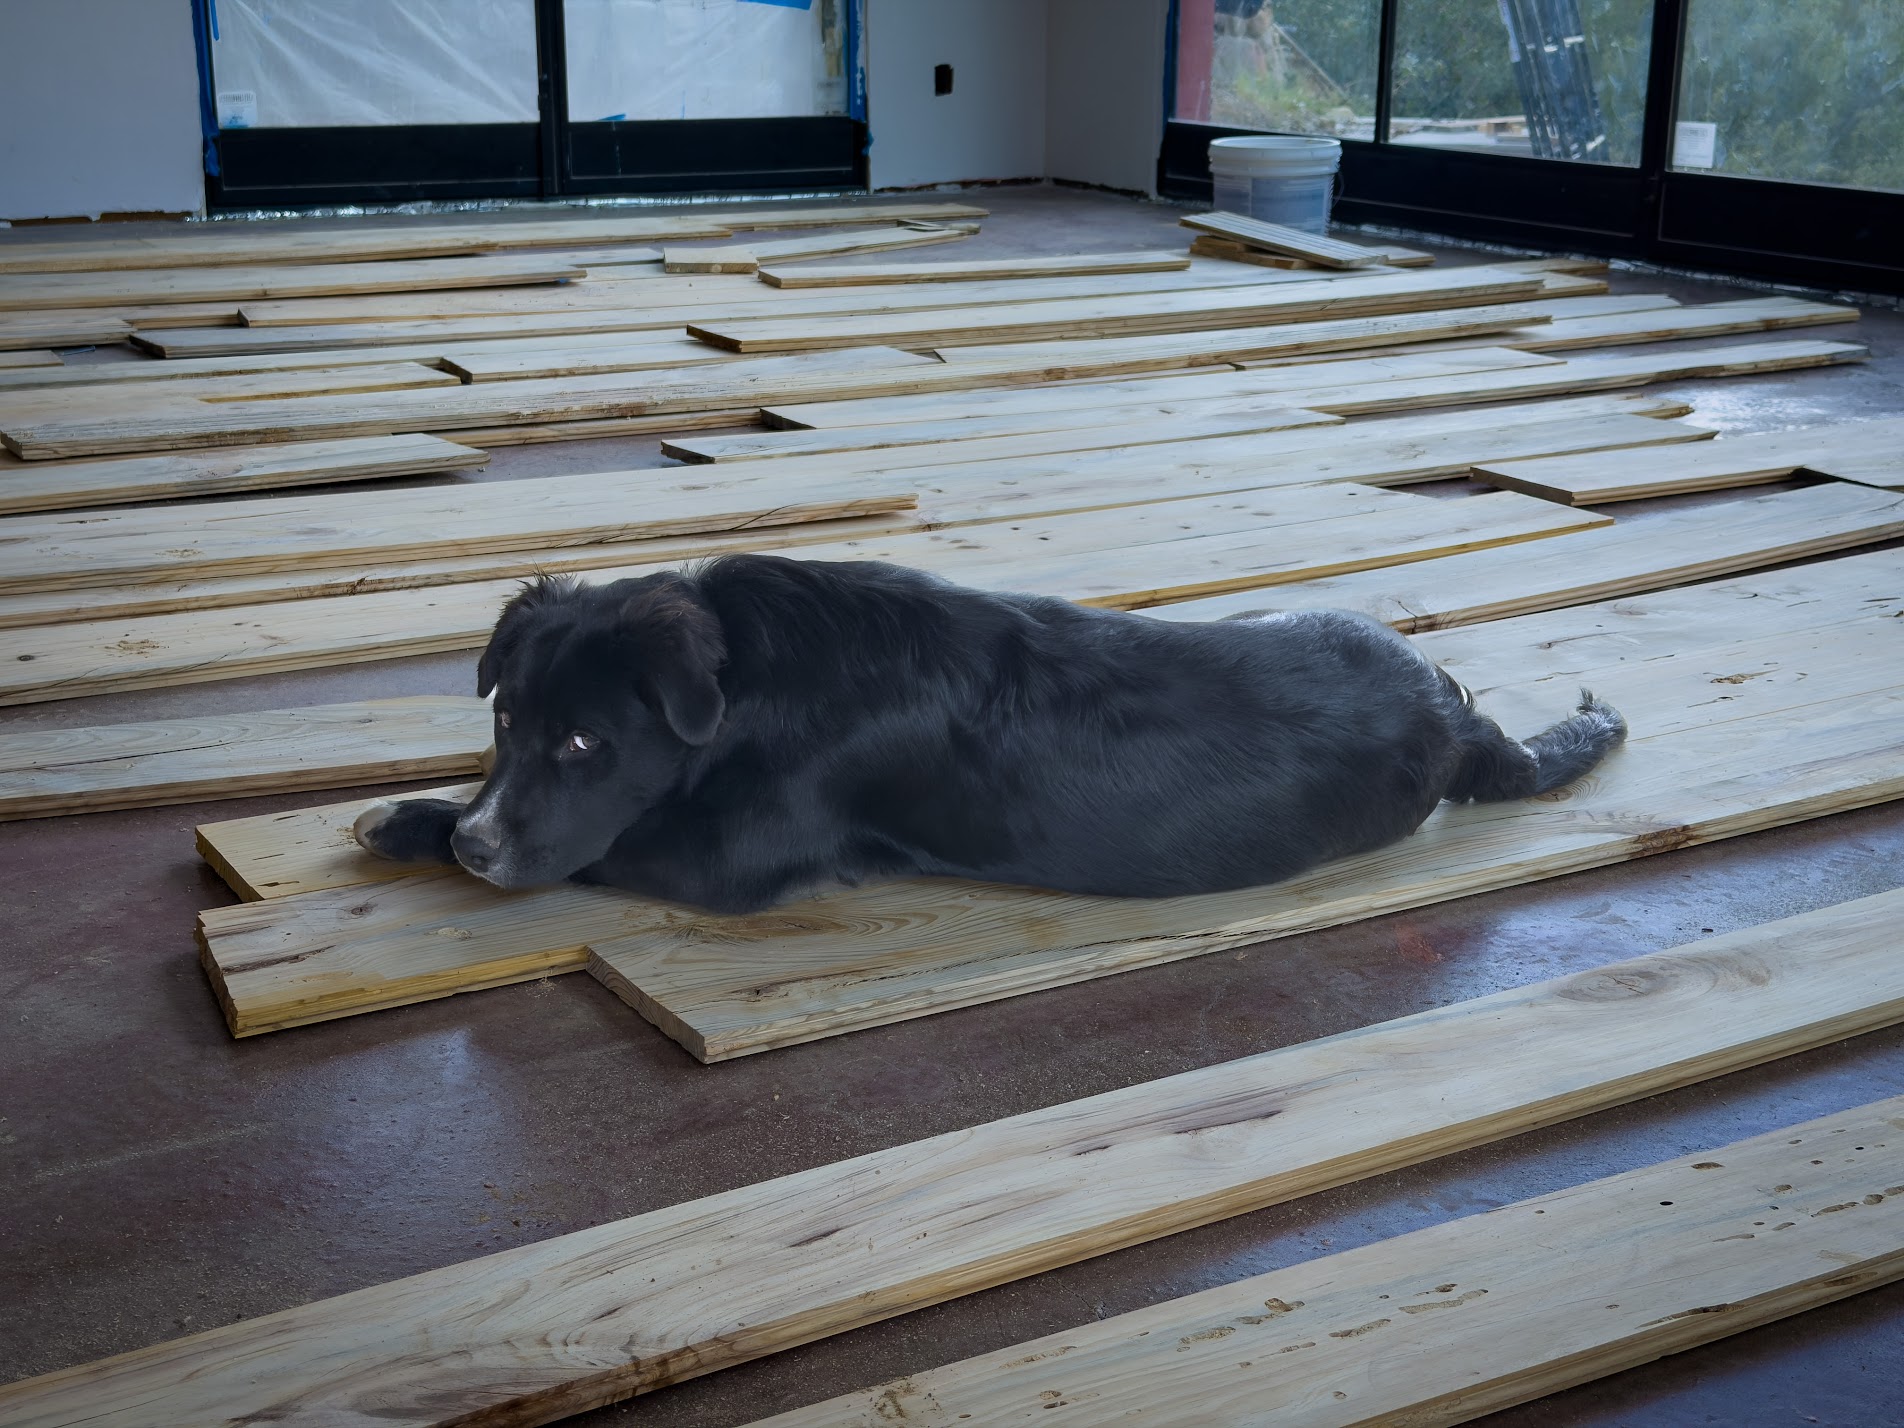
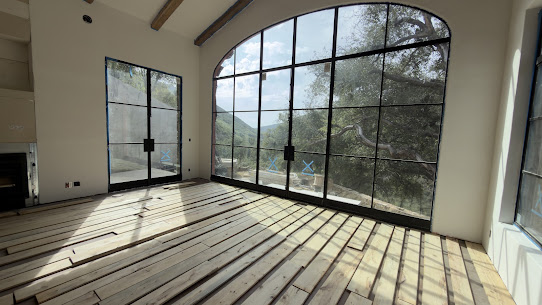
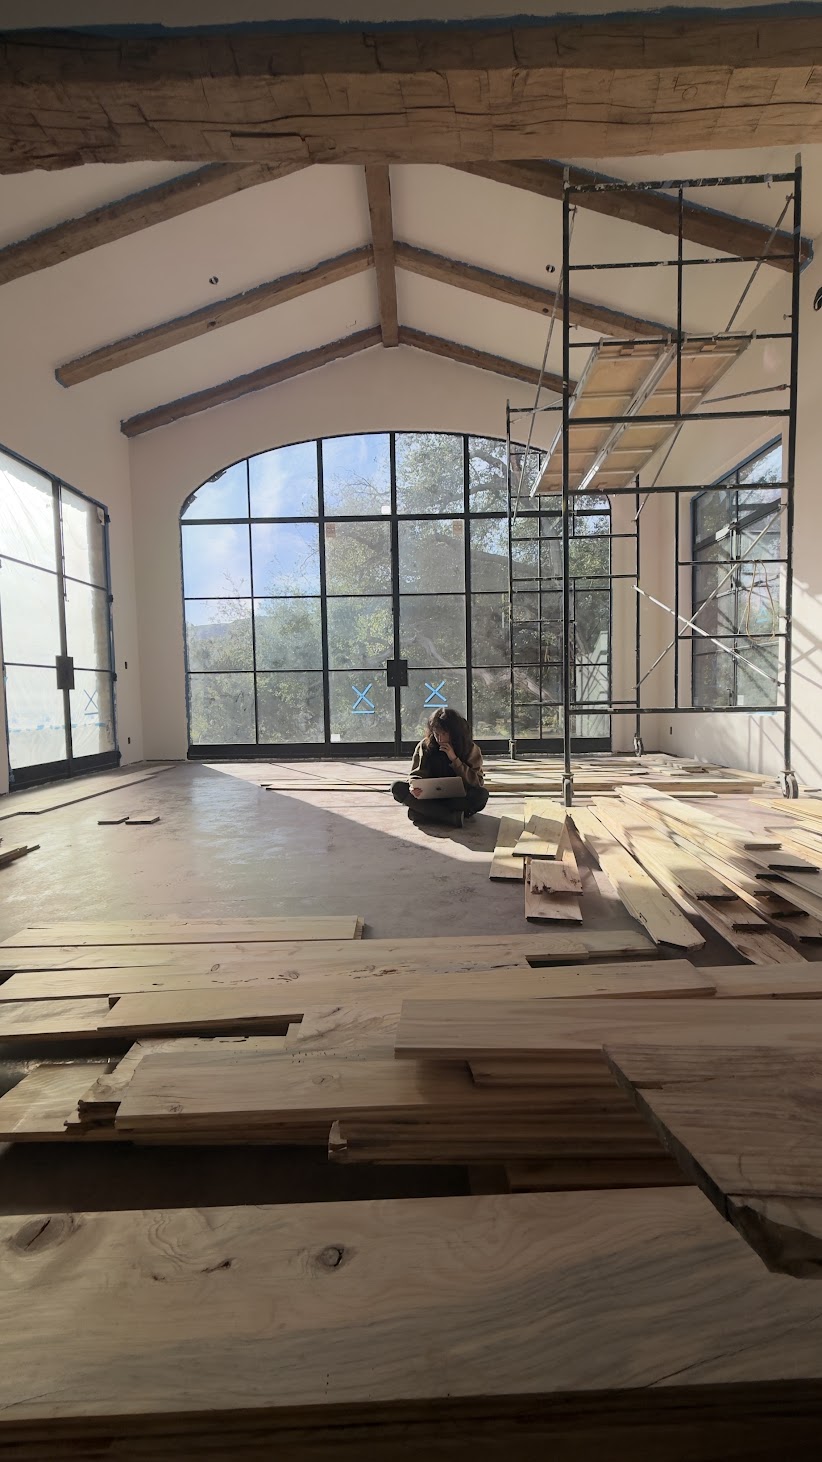
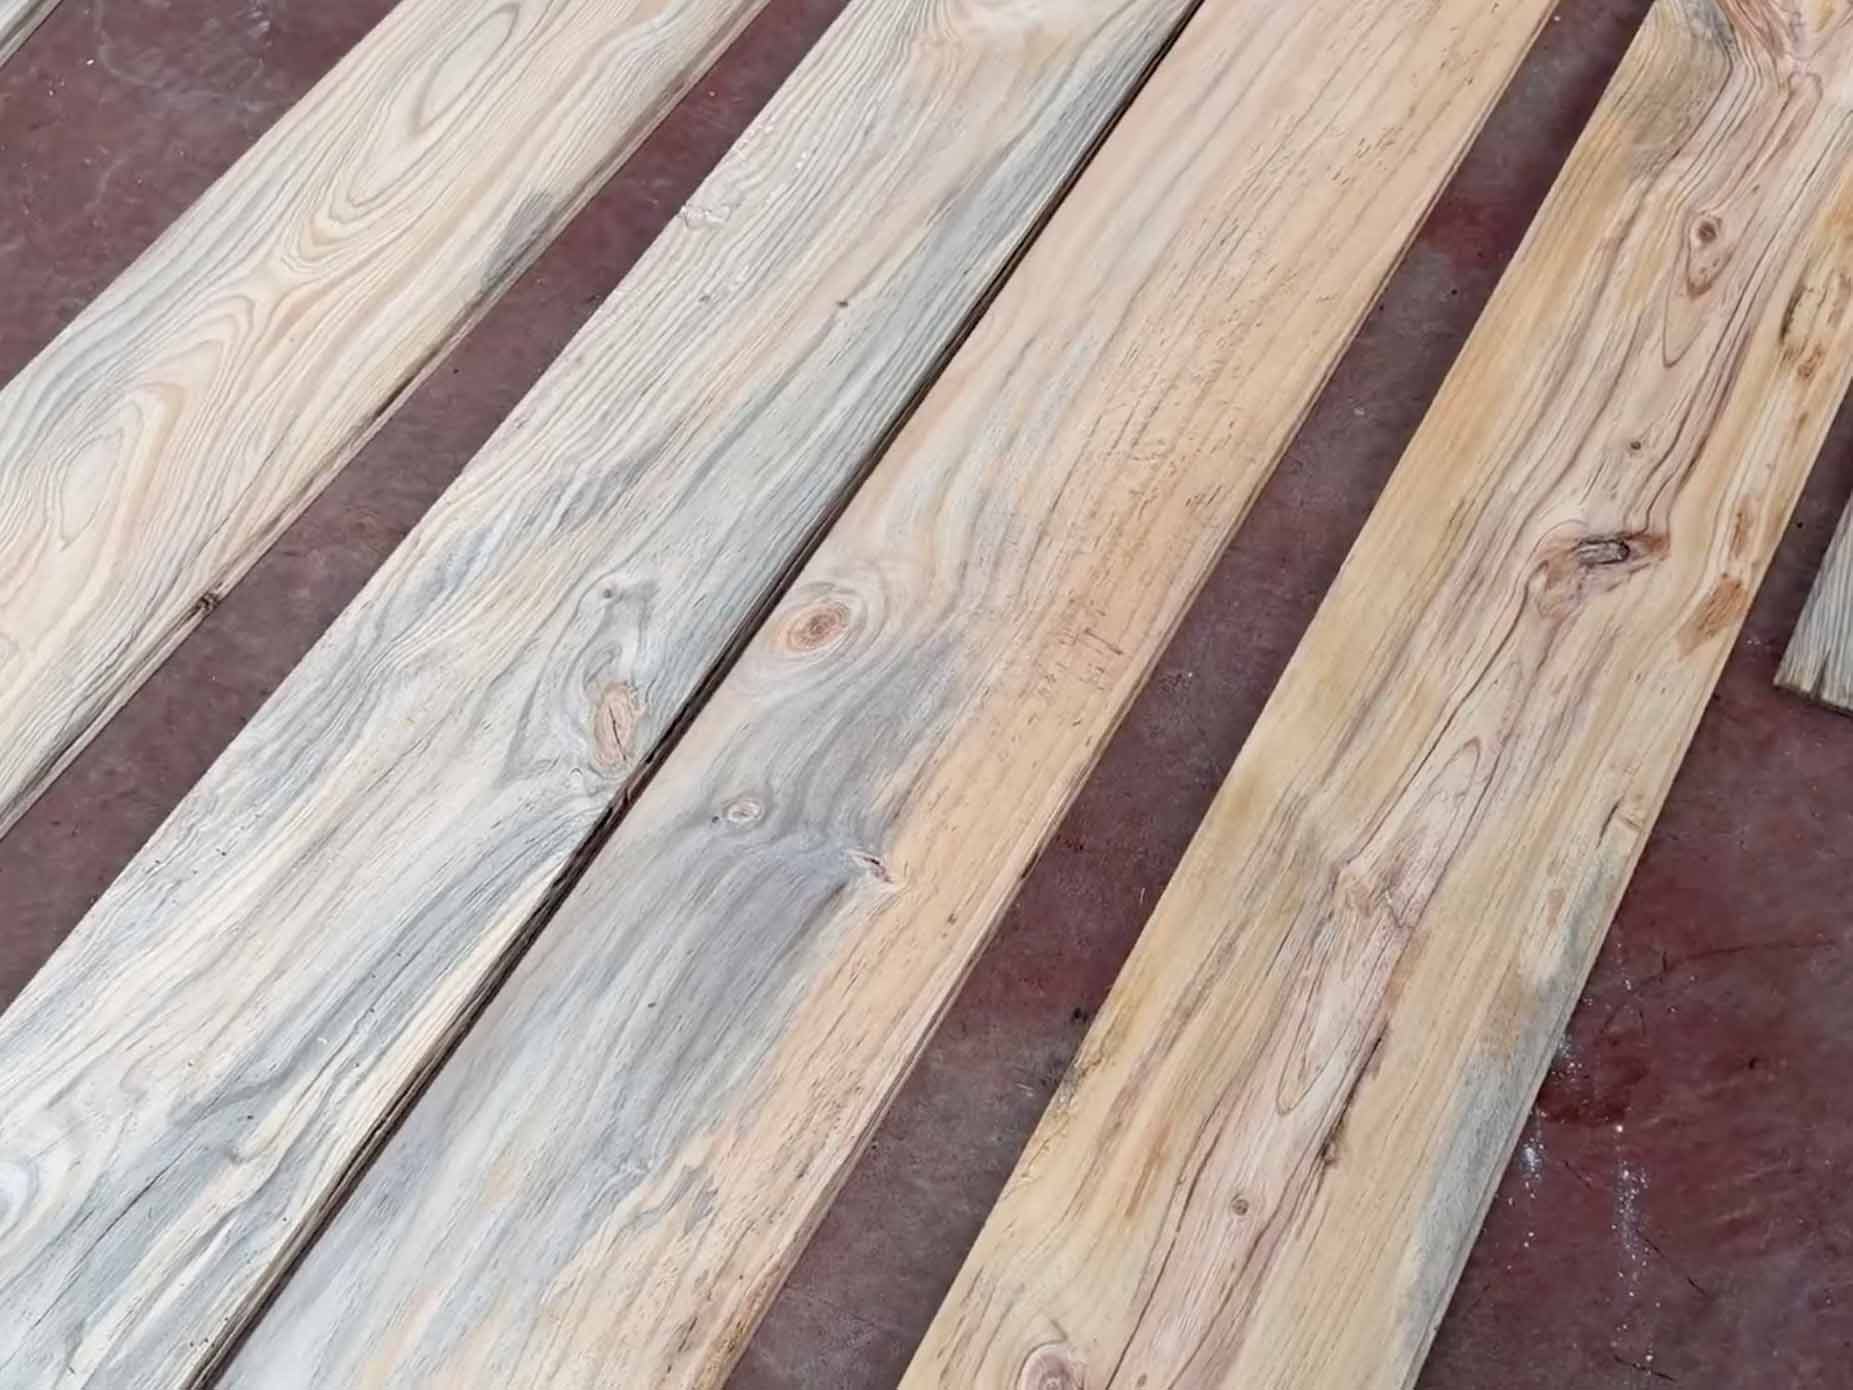
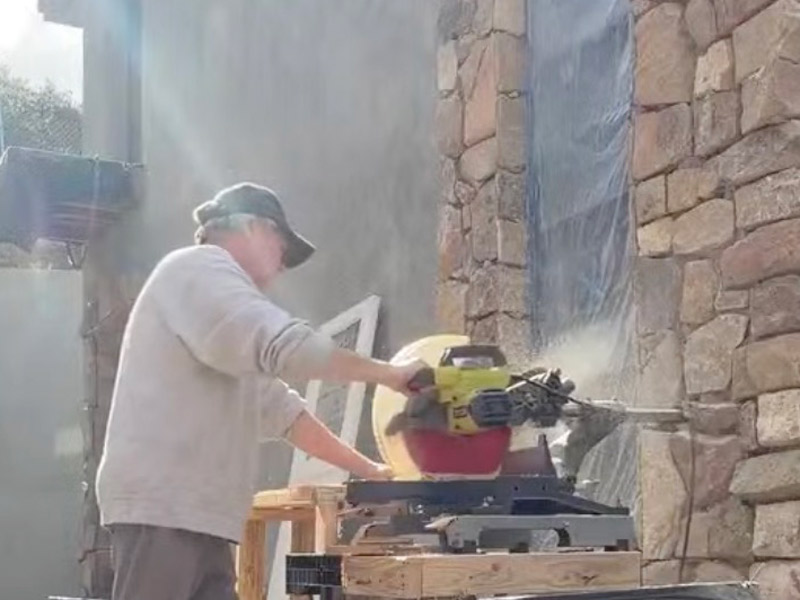
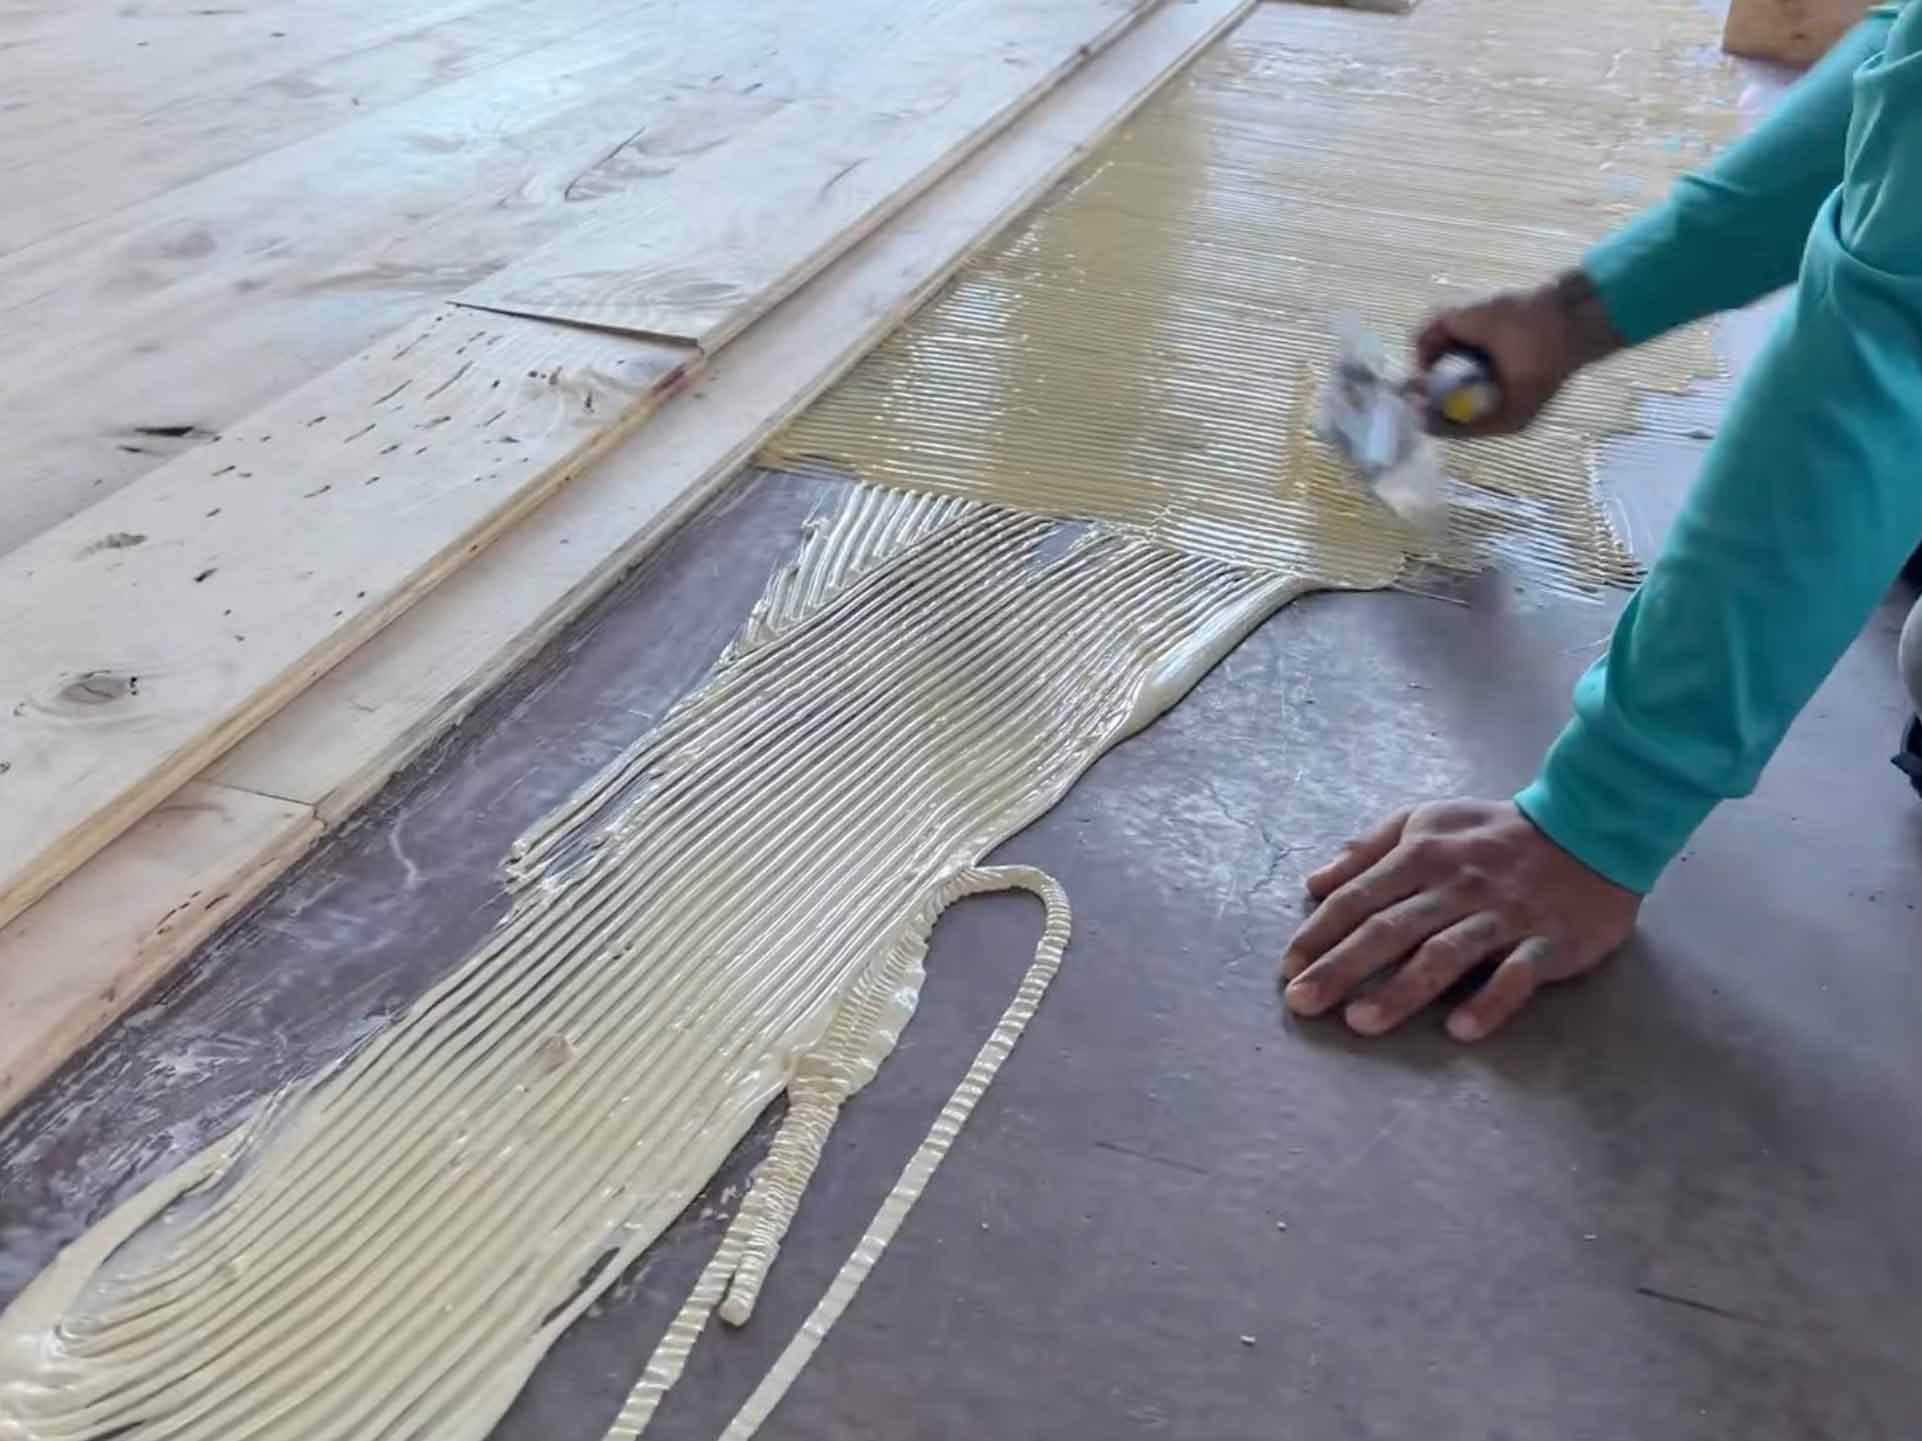
Then came time to cut the boards into their final lengths and glue them down with Bona’s non-toxic adhesive, which we did with the support of our wonderful building crew.
Diane then filled some of the bigger holes and knots with either clear epoxy or wood glue with sawdust made from cutting the planks.
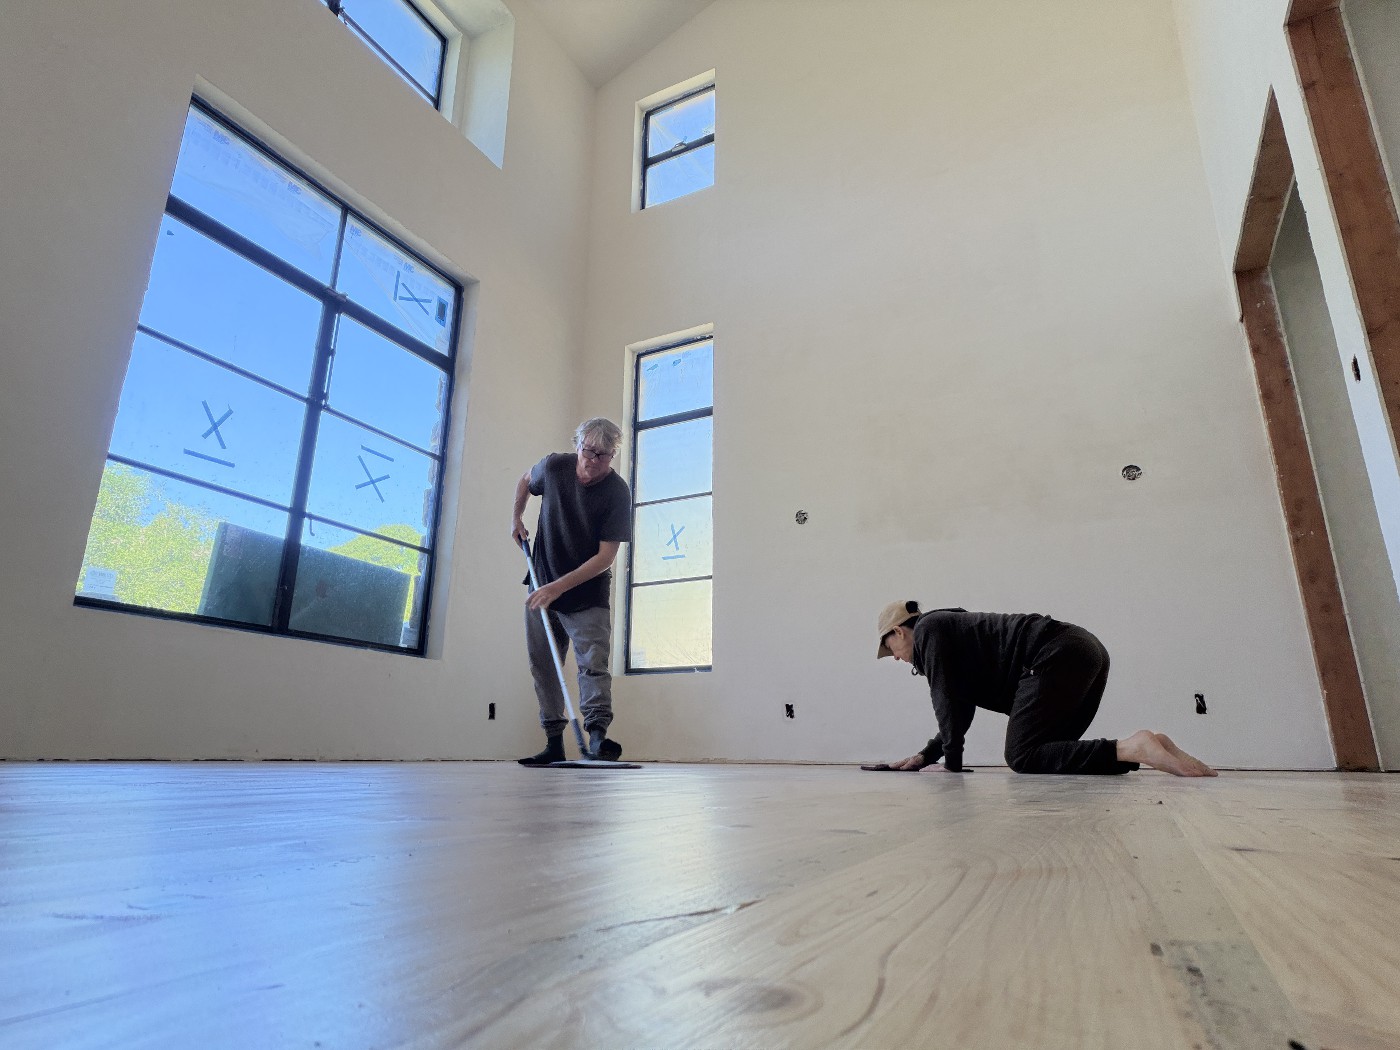
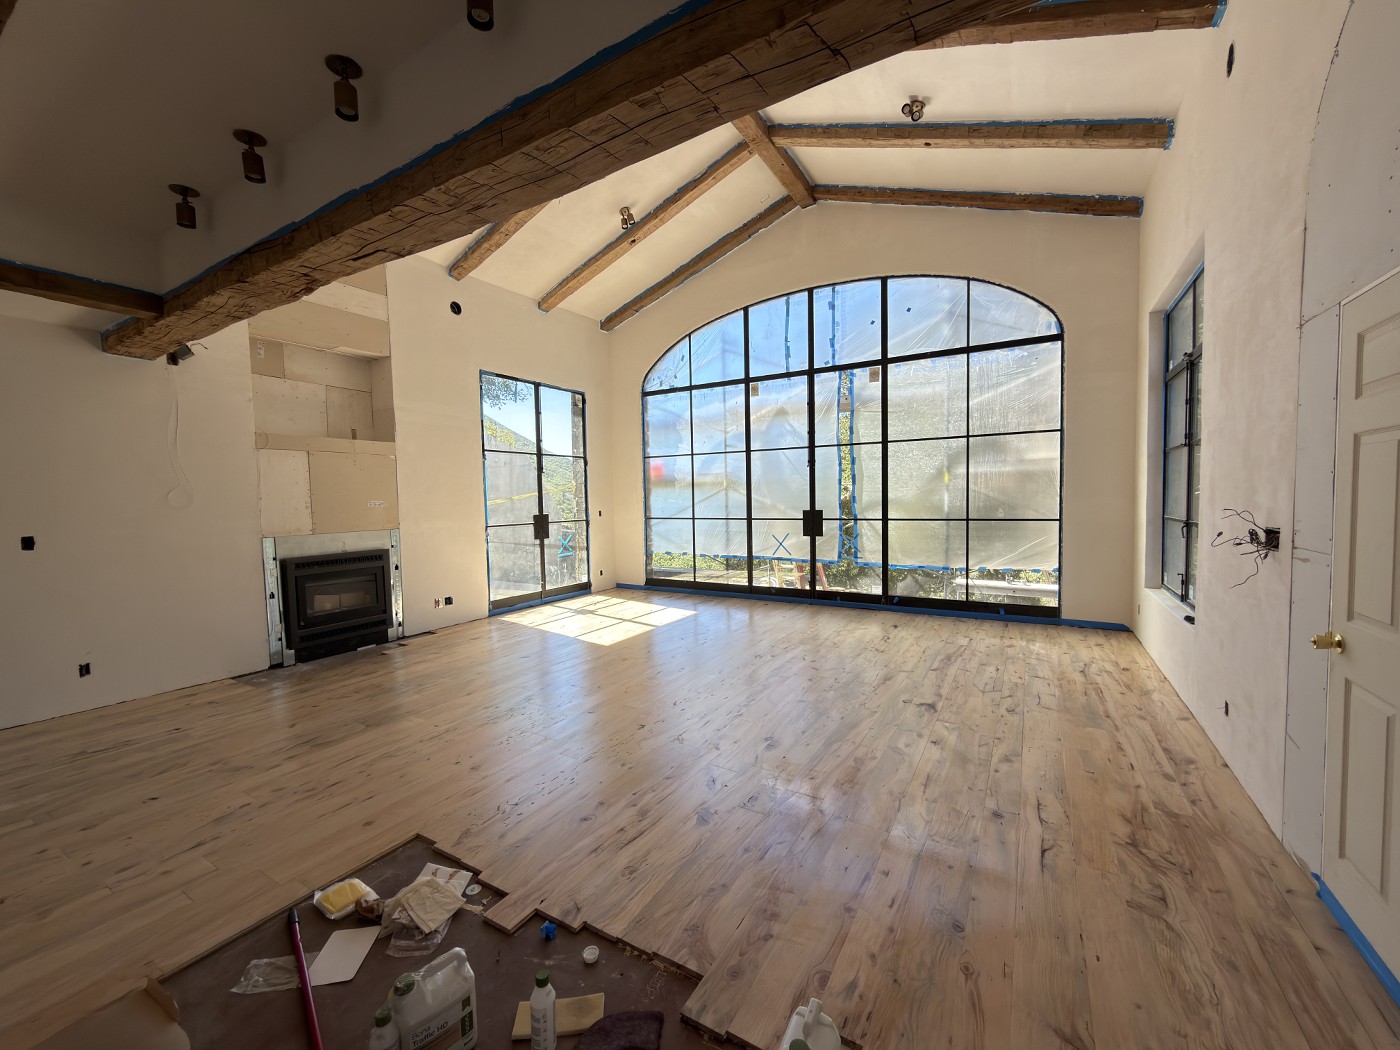
Finally, by the end of February, we were ready to sand, seal with two coats Bona Natural Seal, and finish with a coat of HD Traffic Satin.
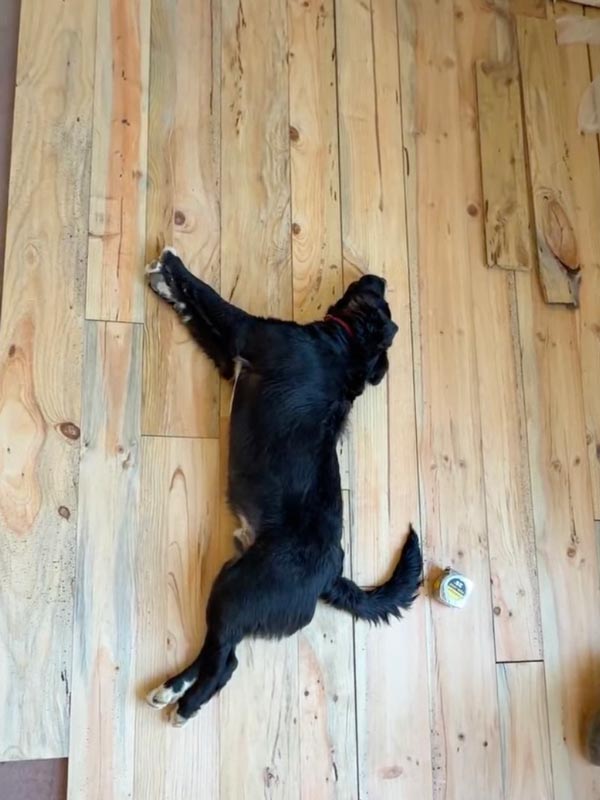
Walking on these floors feels fantastic. So does napping, according to our dogs. But we will have to wait for more of that because we soon had to cover all the flooring with Ram Board to protect it during final finishes.
Rainy Day Blues!
We love the rain….. Our Dogs?
Not so much
March 2026 | The Gate and the Pillar
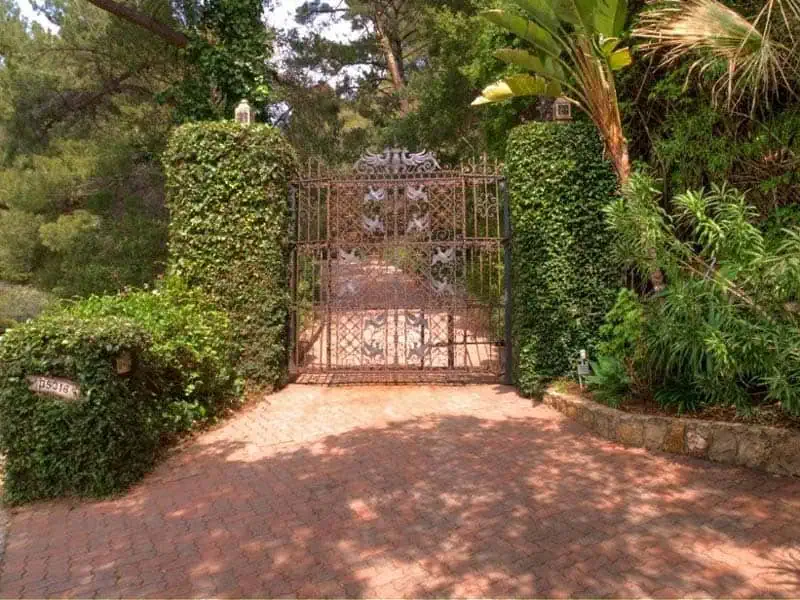
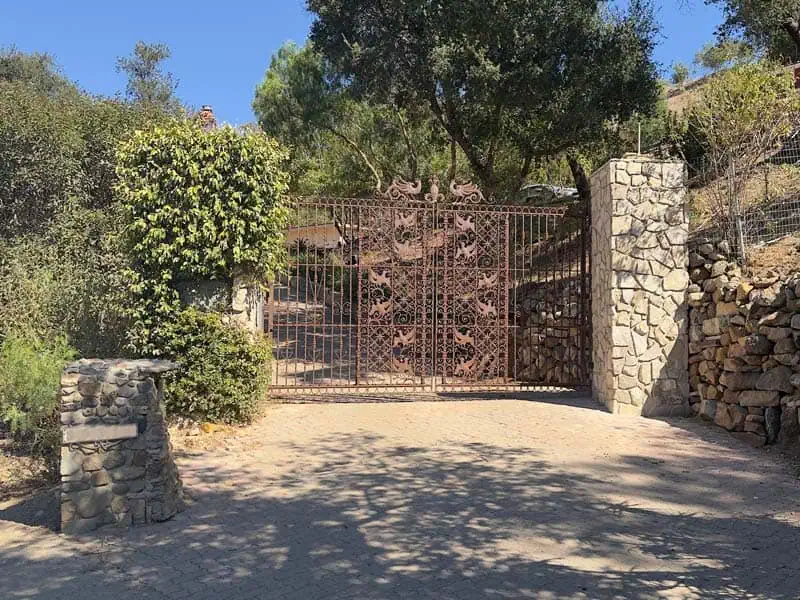
In September 2025, we reached a major milestone – getting our gate back, now expanded to meet fire code.
The original gate is the 10 feet in the middle, which we understand was originally from a Dole plantation in Hawaii (see the pineapple on top?).
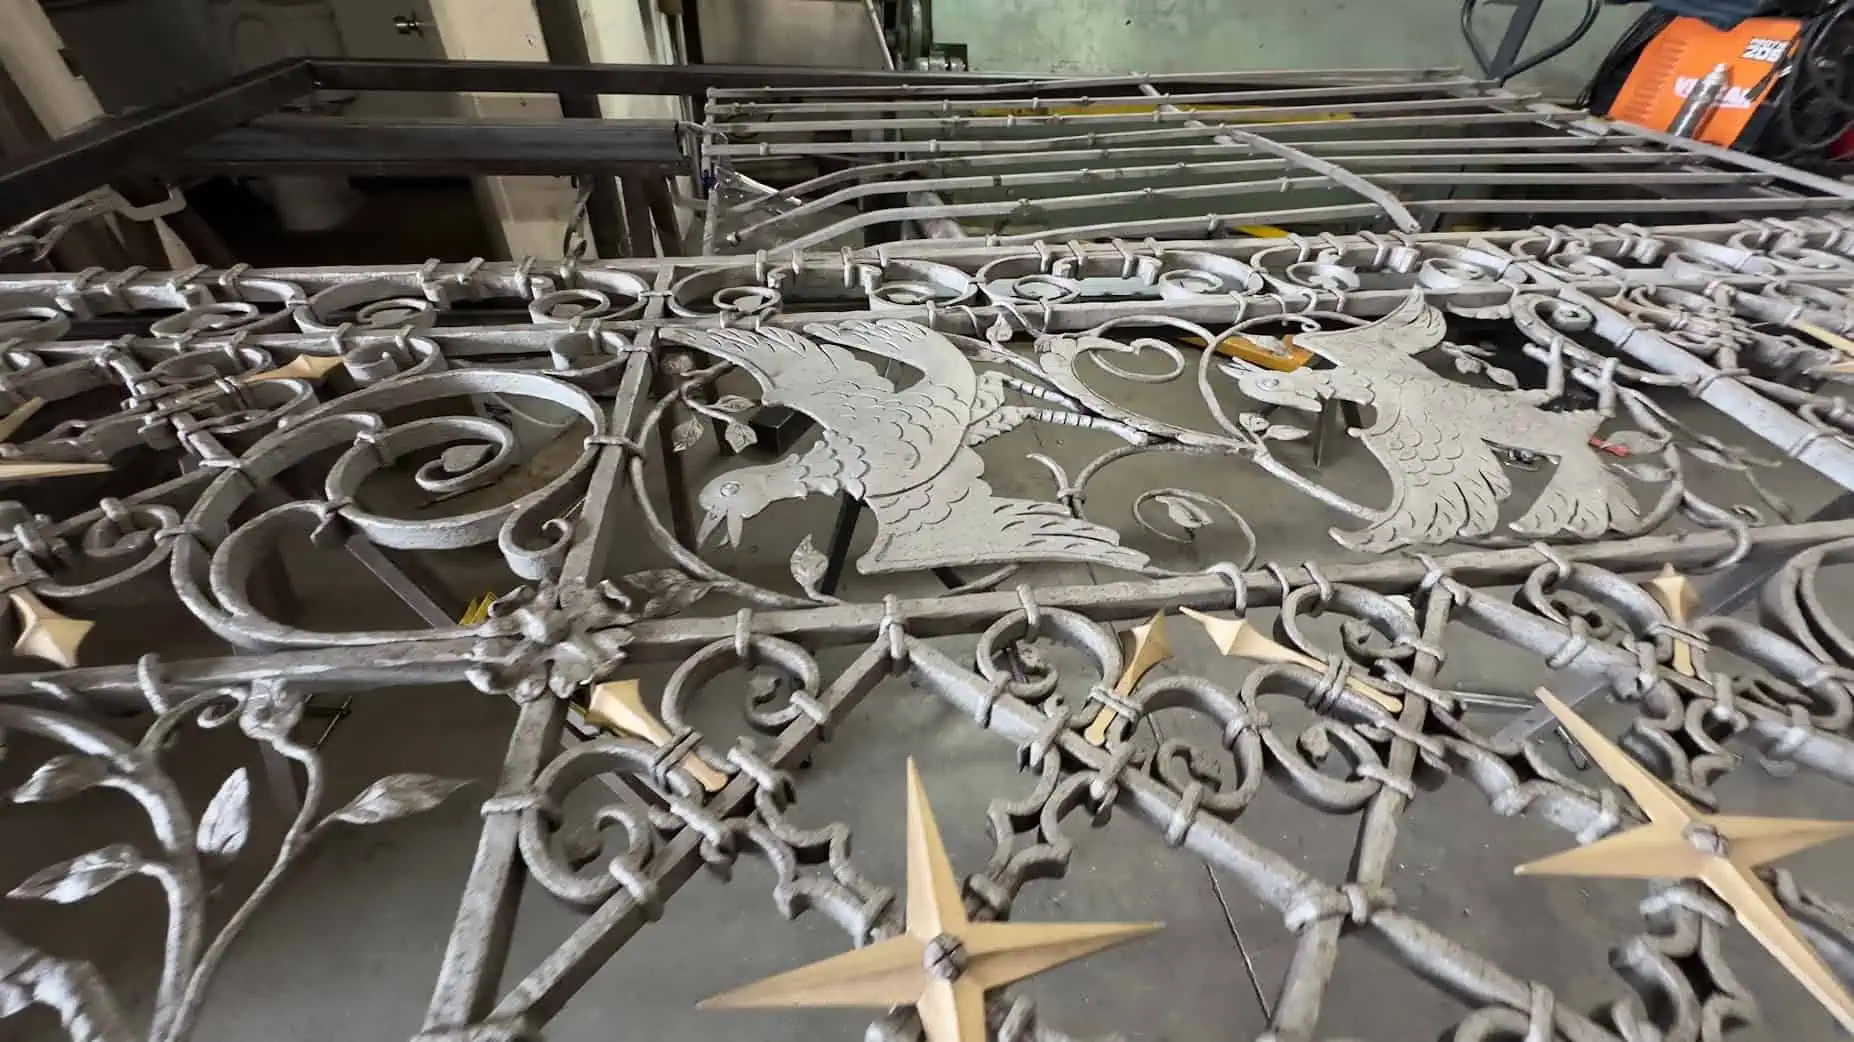
Our metal artist Arturo Cruz of Cruz Metal Design did a beautiful job keeping its character while extending it to 15 feet to bring it into code compliance.
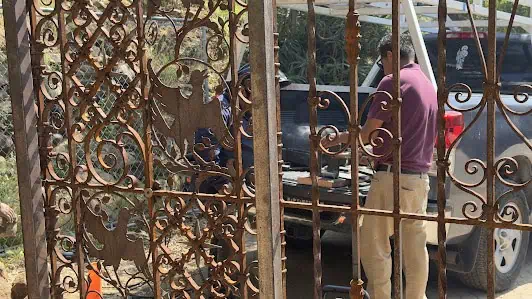
The original gate was rusty, and we let the new gate weather outside to regain its patina. An family friend tried to warn us that it was quickly losing its shine by being left outside, but we reassured him that this was intentional!
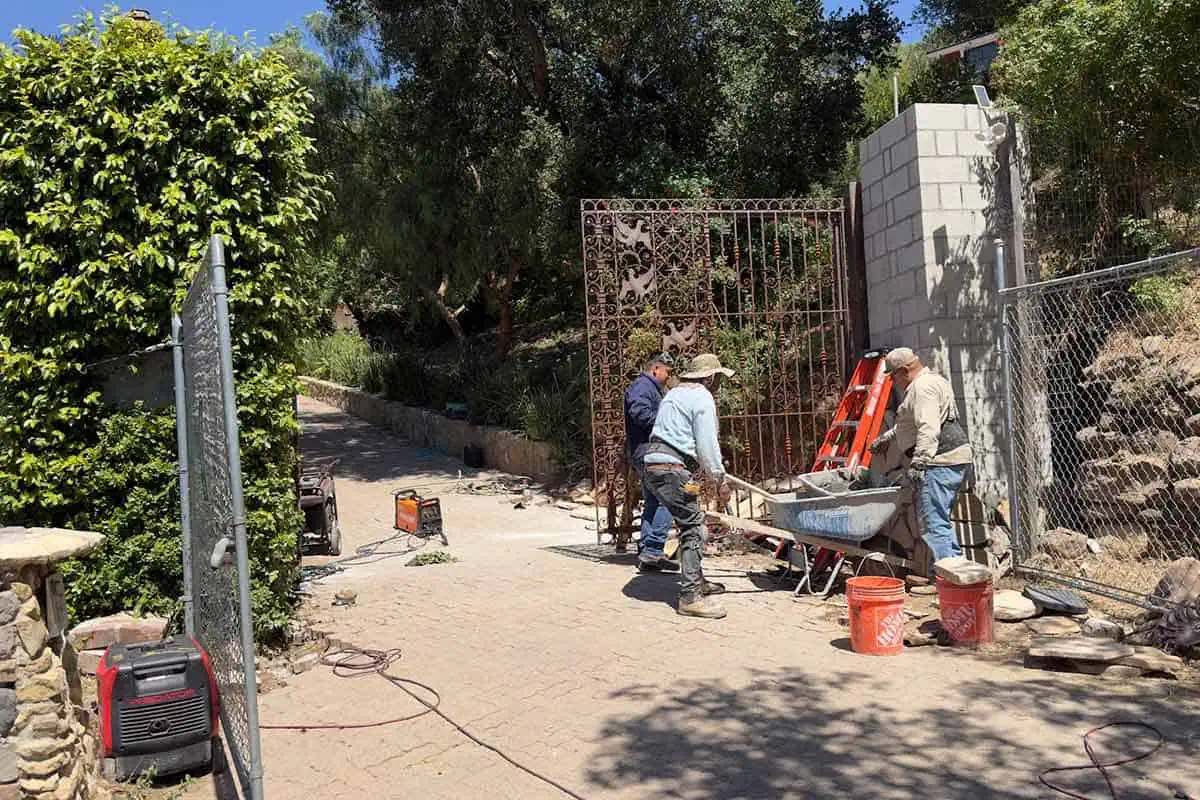
By early April, the gate was ready to install.
Next, our masonry crew re-added stone veneer on the re-constructed pillar that had been removed when we got the tiny house (see that saga from summer 2020). We had saved the stone from the old pillar, but the crew couldn’t find it! We started a long search to find a match for the old stone, making many calls and visits to one stone yard after another. Our great detective work ended up right back where we started, when we finally uncovered the old veneer – just enough to cover the front and one side. For the rest, we bought flagstone in a similar tone and texture.
With the pillar and gate installation complete, next we need to motorize the gates and put in the new intercom. Now that’s a whole other story…